The Ultimate Guide To Taking Beautiful Photos While Traveling Solo
Advice, tips, tricks, and gear for taking beautiful photos while you’re traveling solo
“Who takes your pictures if you’re traveling alone?”
As a solo traveler, this is the question that I receive the most by far.
It’s easy to look at my Instagram and think I must have a photographer following me around from one exotic locale to another. It’s also easy to assume that I have an Instagram hubby/bff/sugar daddy hiding somewhere behind the scenes and lens, but this couldn’t be further from the truth.
As a travel blogger, sometimes I seriously wish that I had a photographer/videographer/assistant with me but ain’t nobody got $$ for that(yet). So for now, I work with what I’ve got – me, myself, and I.
I’ve previously mentioned one of the worst parts of solo travel is being stuck with selfies. This may sound vain or even narcissistic, but there’s no shame in wanting a beautiful memory of your trip.
In fact, solo travel is often a monumental experience for many. This may be your first trip alone, your first trip after a divorce, your first international trip, a birthday trip, or a trip that you’ve spent years saving up for. You may want to share these photos with friends/family who are unable to travel or your grandkids years down the road.
It’s one thing to have a mediocre landscape photo that can be found on Google, but it’s another thing to have a personalized photo of YOUR trip. With all of this in mind, I can definitely understand the desire to have gorgeous photos that encapsulate your experience – especially since you’re the only person who will be re-living it.
I personally enjoy telling a story through photography. It’s one of my favorite things to do while traveling solo, but sometimes the struggle is REAL. Tripods can be a major hassle and what if a stranger runs off with your brand new camera? Fortunately, I’ve learned a thing or two about preparing, capturing, and editing photos while traveling alone. Here are my best tips for taking beautiful photos while you travel solo:
TIPS TO CAPTURE PHOTOS AS A SOLO TRAVELER
Before You Go
Seek Inspiration
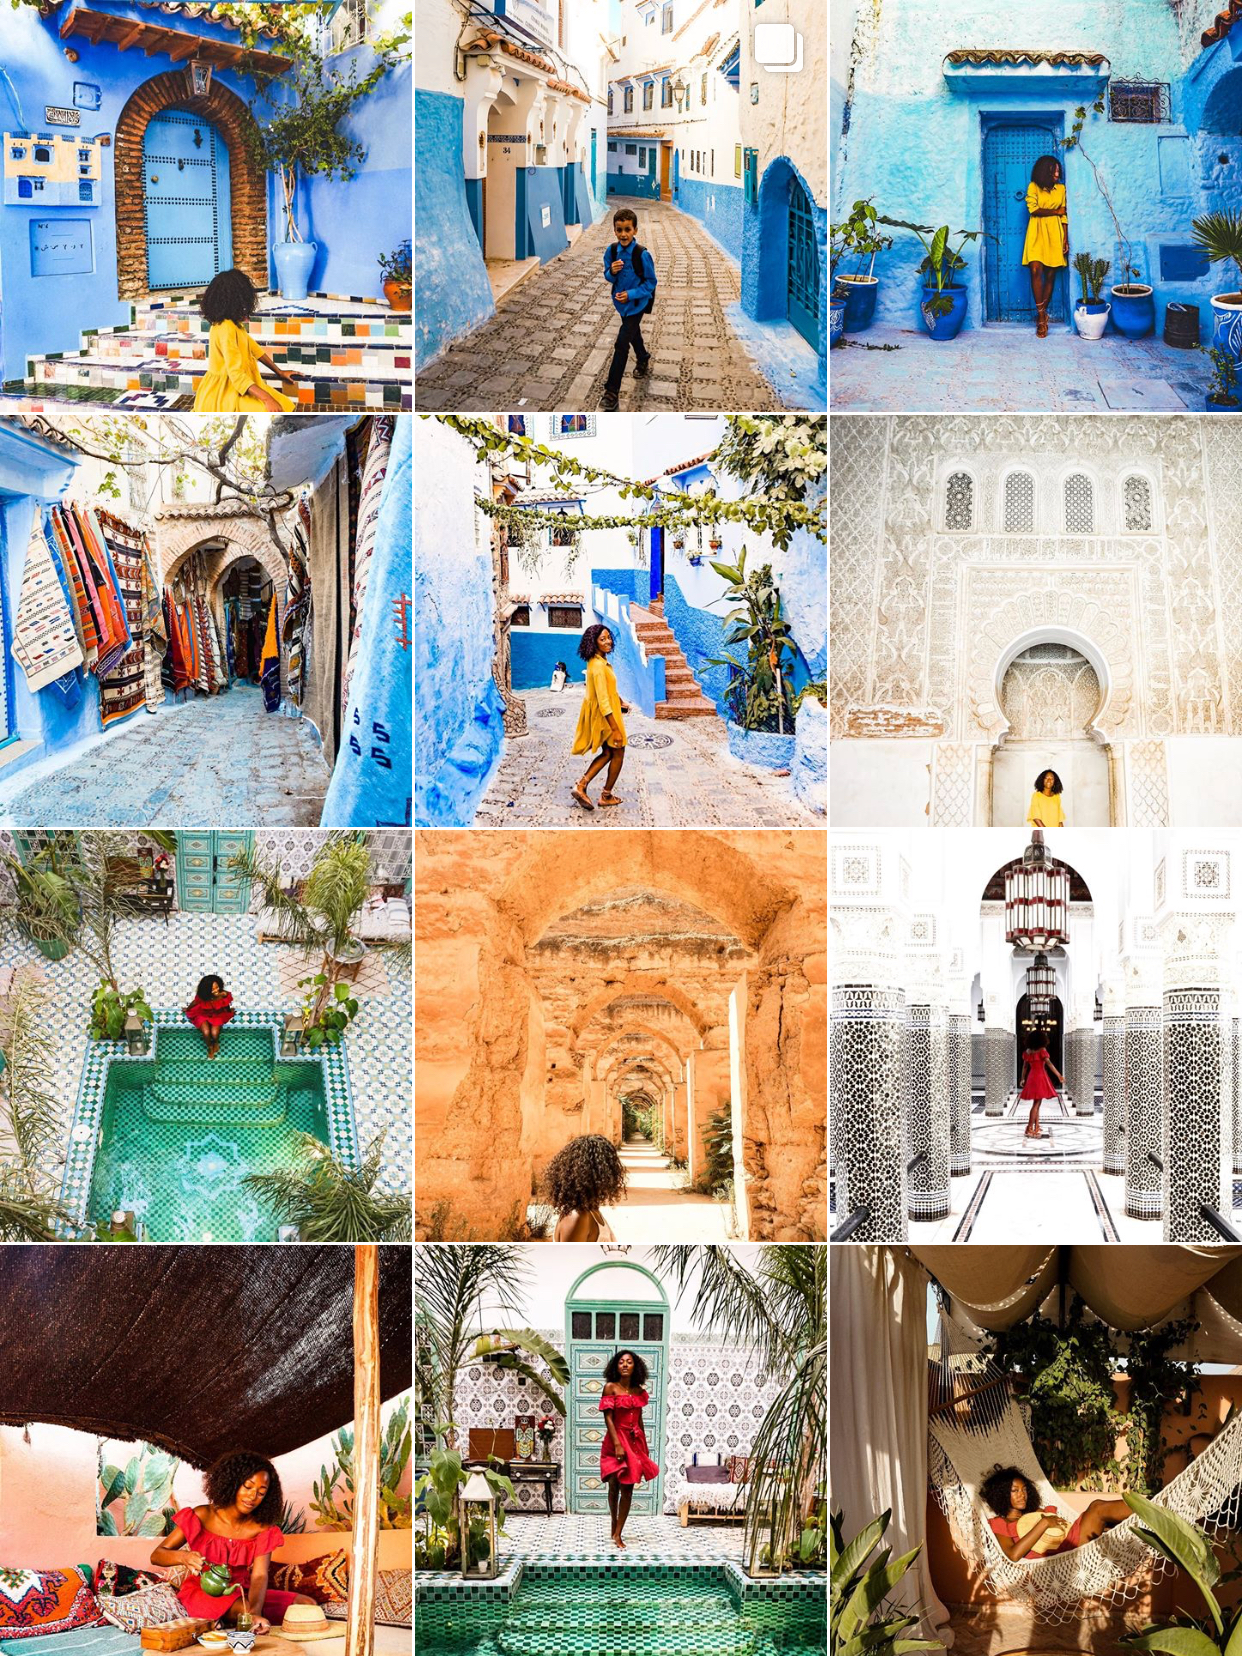
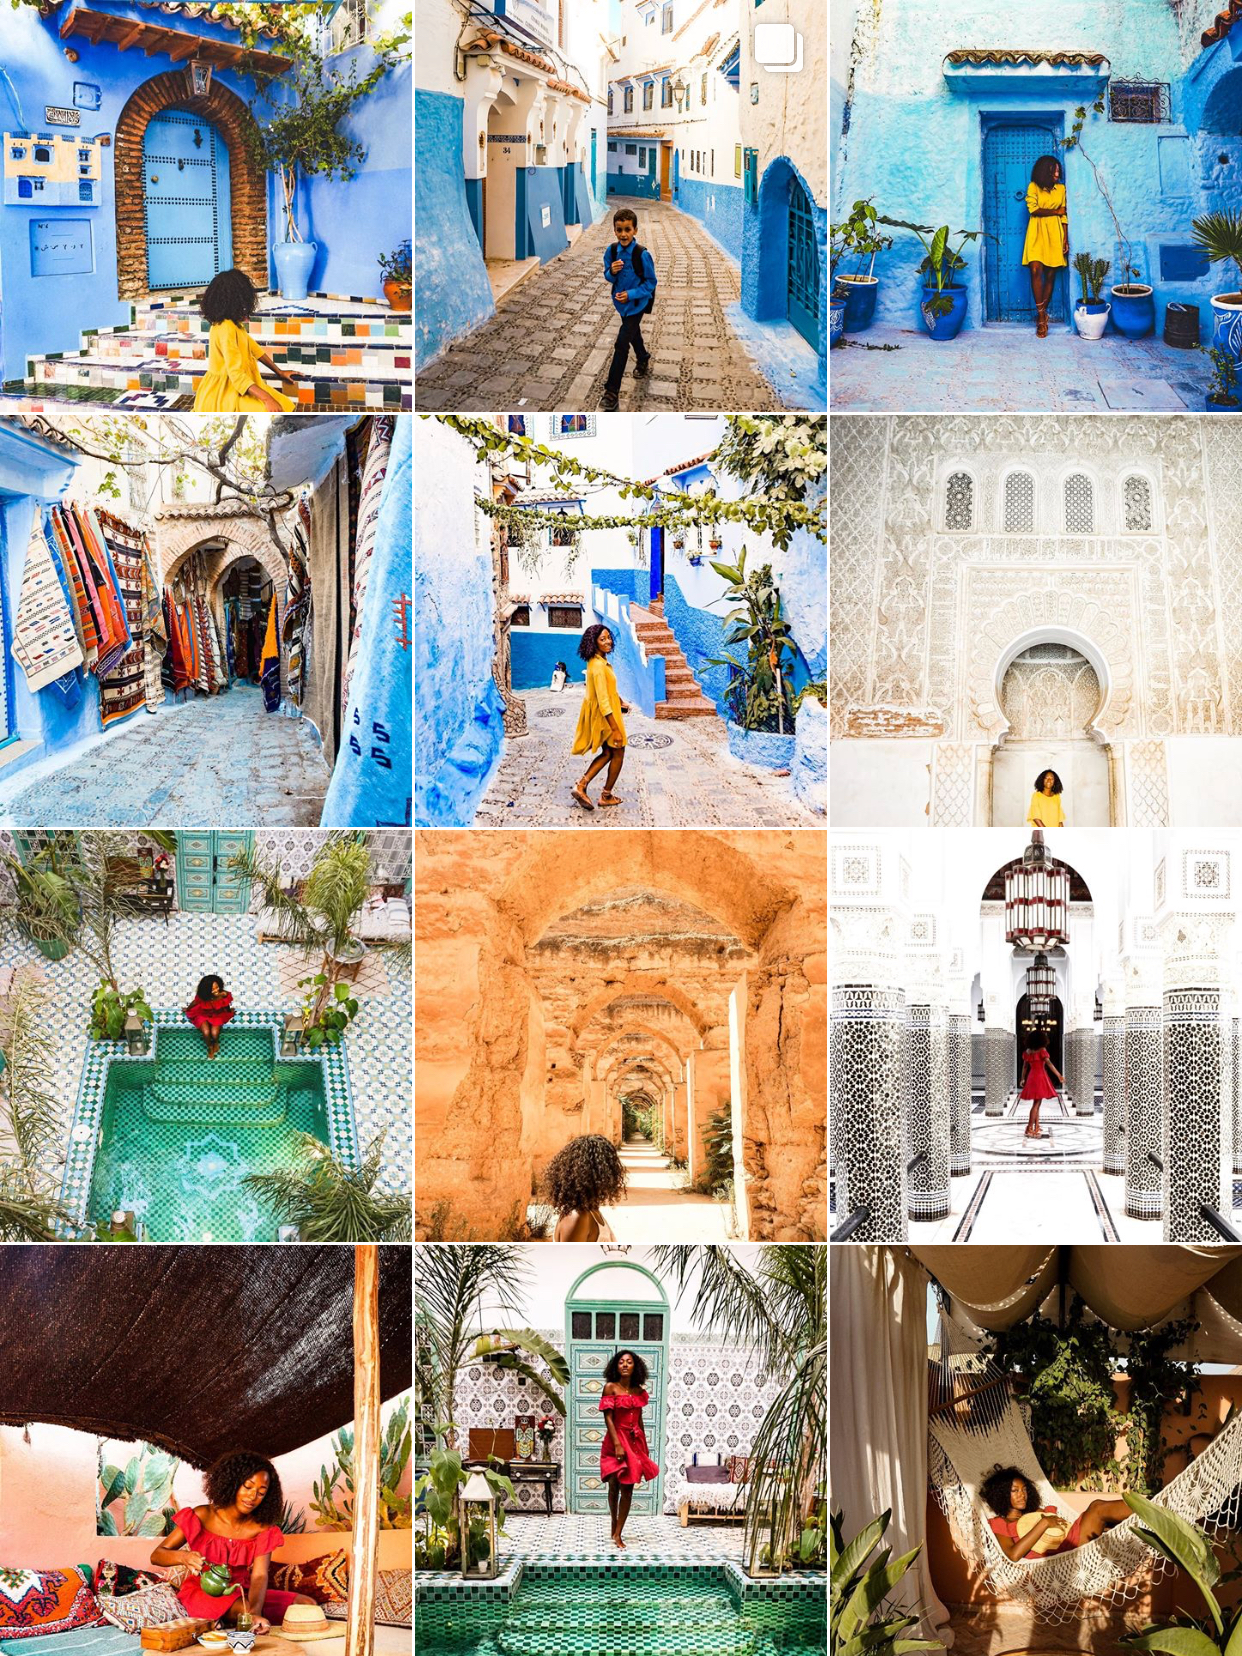
It helps to know what kind of pictures you want to take before you get to your destination. Spend time looking at photo inspiration on Pinterest or Instagram ahead of time. I personally use the ‘save’ and ‘location’ features on Instagram to search for unique landscapes to not only capture but visit when I’m traveling.
Follow my Instagram and Pinterest for some travel photography inspiration!
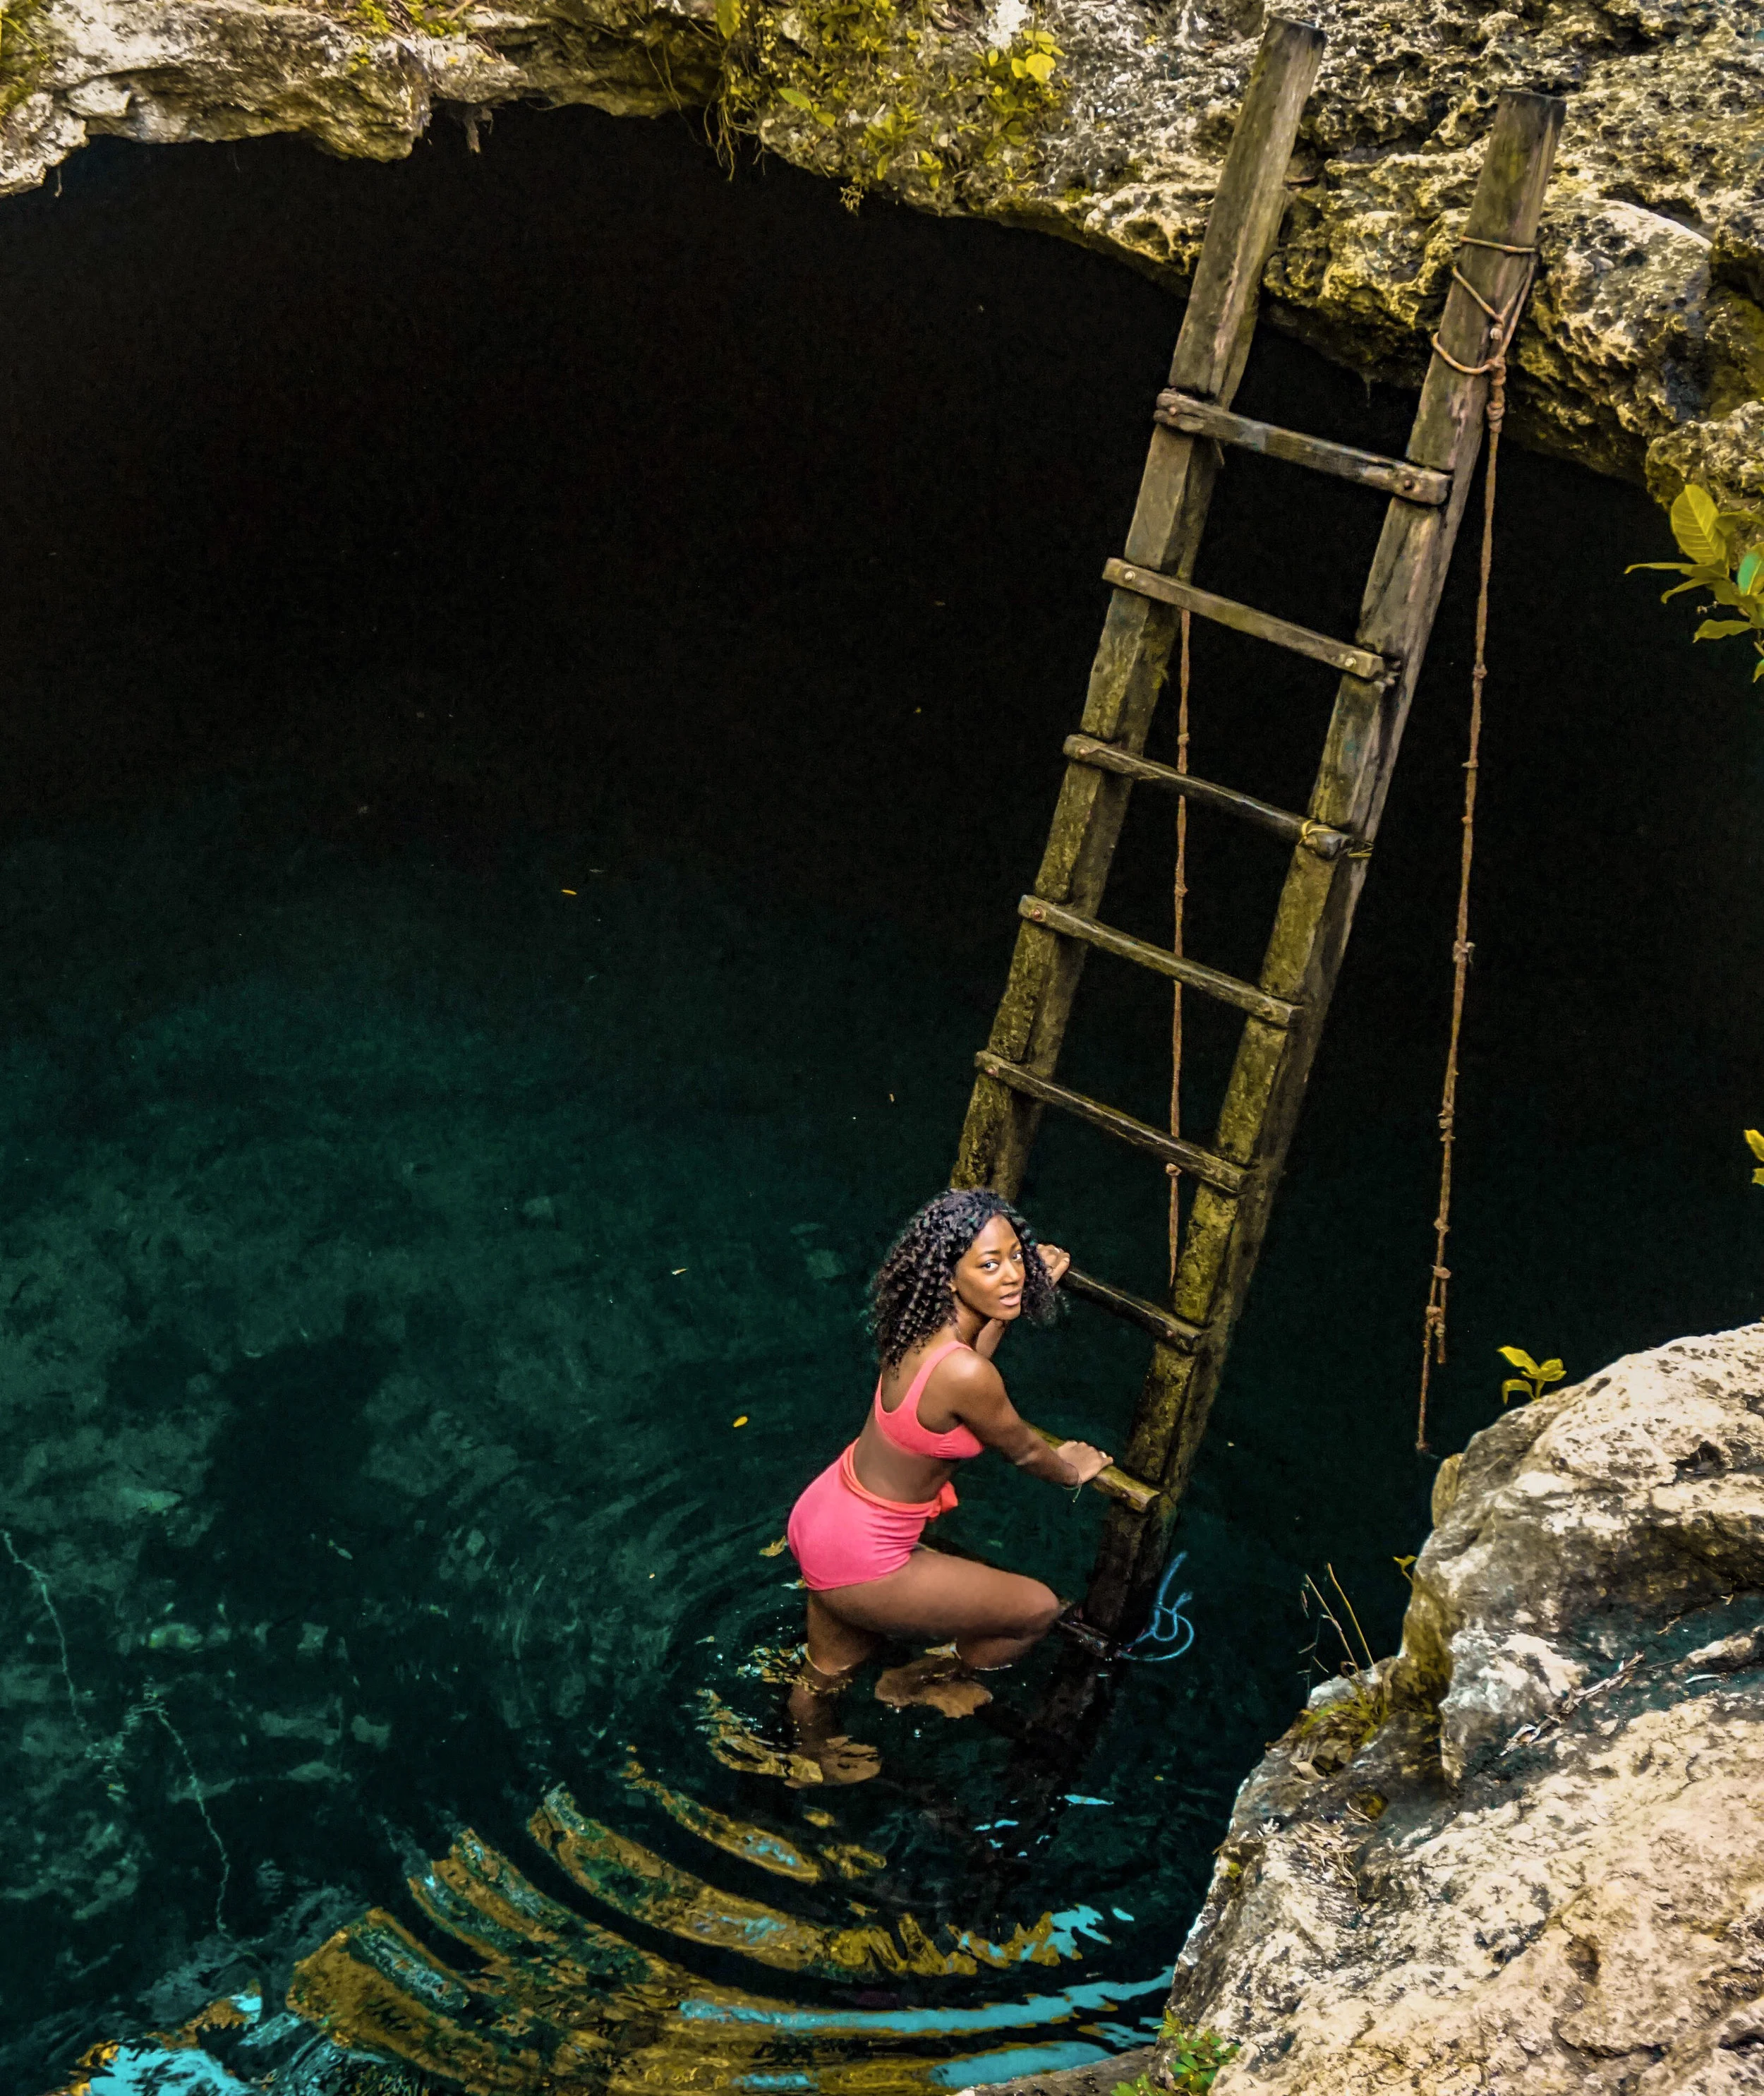
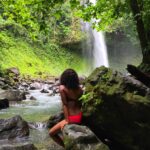
I discovered this low-key cenote in Mexico while scrolling through Instagram one day. This particular photo was taken by travelers who were there to have fun just like me! This photo took less than five minutes, but I stayed in this Cenote for around two hours.
Rise Early
If you want to have famous sights to yourself and take pictures before the crowds arrive, then it’s important to start early. You might lose a bit of sleep, but you’ll thank yourself later.
Get The Right Photography Gear
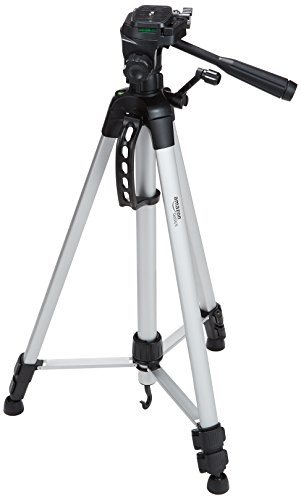
There’s no need to spend a fortune on photography gear, but you should be prepared before you go. If you’re not satisfied with your current camera, then do the proper research to upgrade ahead of time. There’s nothing like arriving in a destination and wishing you would have invested in a better lens, camera, or photo accessory. Consider whether you’d like to bring a tripod to set up solo shots, a go-pro to capture action shots, a stabilizer to record videos, or a new camera for higher quality photos. Scroll to the bottom(or click the links) to see which gear I use.
IMPORTANT TIPS REGARDING GEAR:
-
If you choose to invest in photography gear, it’s crucial that you purchase travel insurance. I’ve lost a phone, had another phone stolen, and also broke my camera after it fell off the tripod. ANYTHING could happen, so it’s important to buy travel insurance that will cover the cost of your valuables.
-
Always pack/bring all of your valuables in your carry-on to avoid damage or theft.
This photo was taken in Burano, Italy using an iPhone. I met a solo traveler on the bus ride there and we spent the entire day together.
Perfect Your Poses
You don’t have an Insta hubby or bff to re-take photos of you when you’re traveling solo, so it’s best to have some go-to poses and know your angles. This is especially important if you aren’t used to being in front of the camera. You’re unlikely to even attempt taking photos if you feel awkward or uncomfortable, so start practicing ASAP. Have a few go to poses in your pocket and know which sides/angles makes you look & feel your best in photos. When you feel more confident taking photos, you’re able to get the job done much quicker and move on to living out your adventures.
Most would probably assume I spend hours taking photos, but nope – ain’t nobody got time for that! I’ve simply had alot of practice taking photos and being in front of the camera. I know exactly what shots I want ahead of time and I have go-to poses that allow me to take most of my photos very quickly. Like anything else, practice makes perfect. While it may take hours or hundreds of shots for someone who is less experienced in this area, I can usually get my desired outcome within a few minutes or shots. Everyone is different, so experiment and see what works best for you! Aside from smiling/laughing,
Here are my go to poses:
Glancing To The Right/Using My Right Side Profile – Why? This is my “good side”. I can admit that I don’t always like my smile in photos, so glancing to the right is my go-to. Whether smiling or not, looking to the right is my favorite “candid” photo op. This also brings attention to the distance, landscape, or whichever element I may be looking at. You can learn your ‘good side’ by taking selfies and seeing which angles work best for you.
Facing Away From The Camera/Back Of The Head Shot – Once again, let’s be real! We don’t always look our best while traveling, so facing away from the camera is a great way for you to be the subject of the frame – even if you aren’t very comfortable in front of the camera yet. The ‘back of the head shot’ is definitely overdone in travel photography, but it does the trick – especially on your worst travel days. Sunglasses work wonders too!
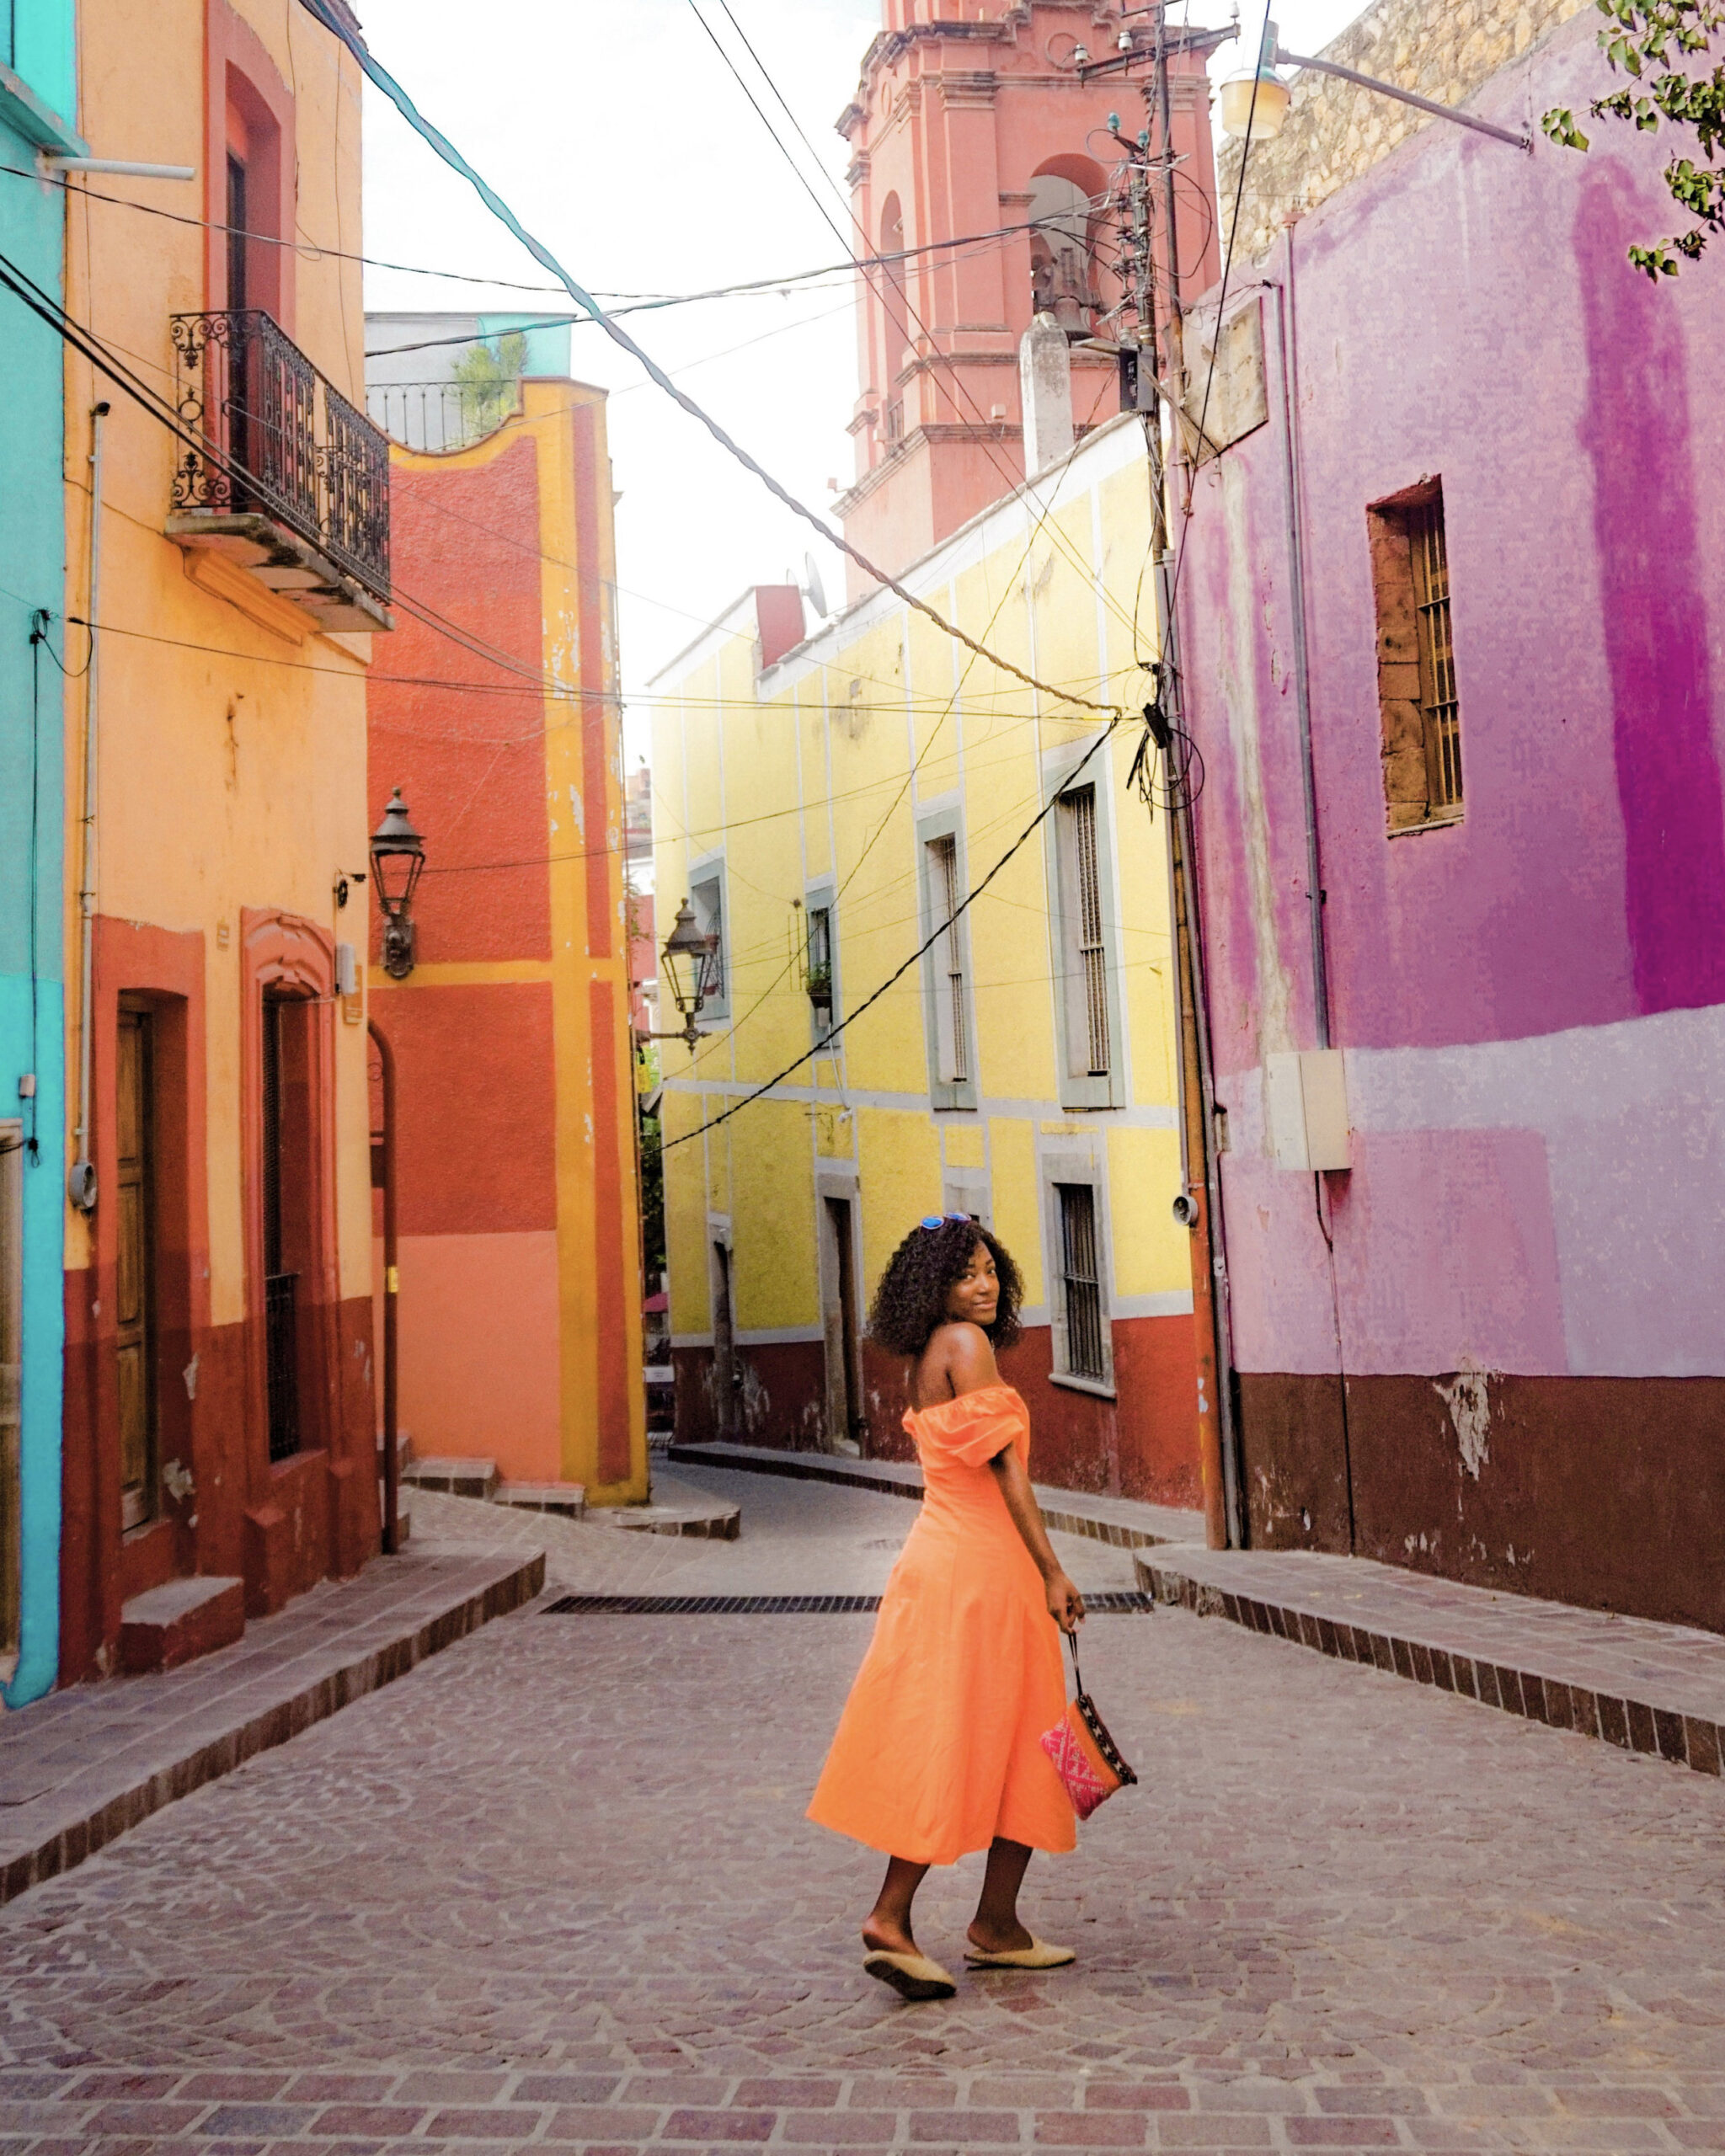
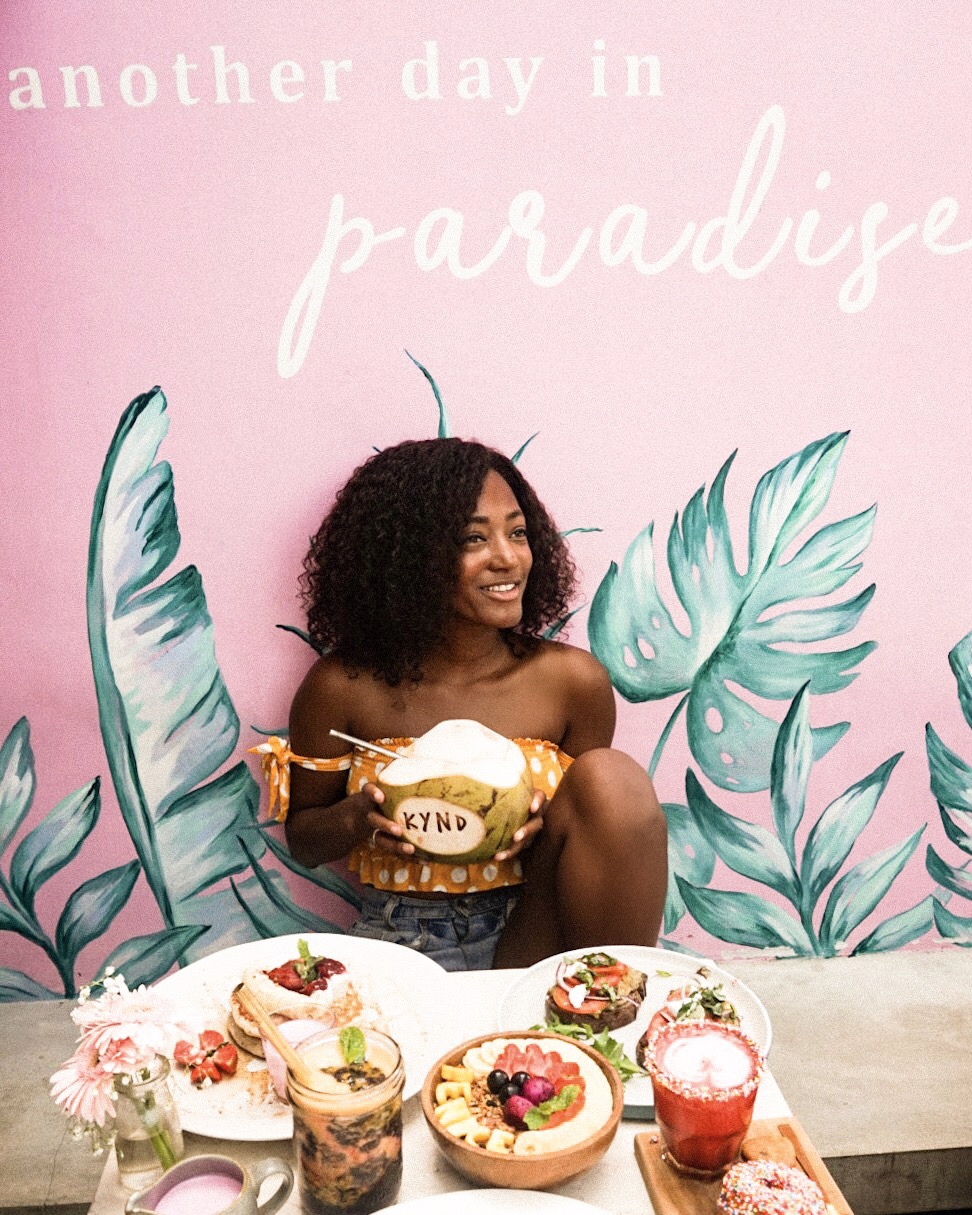
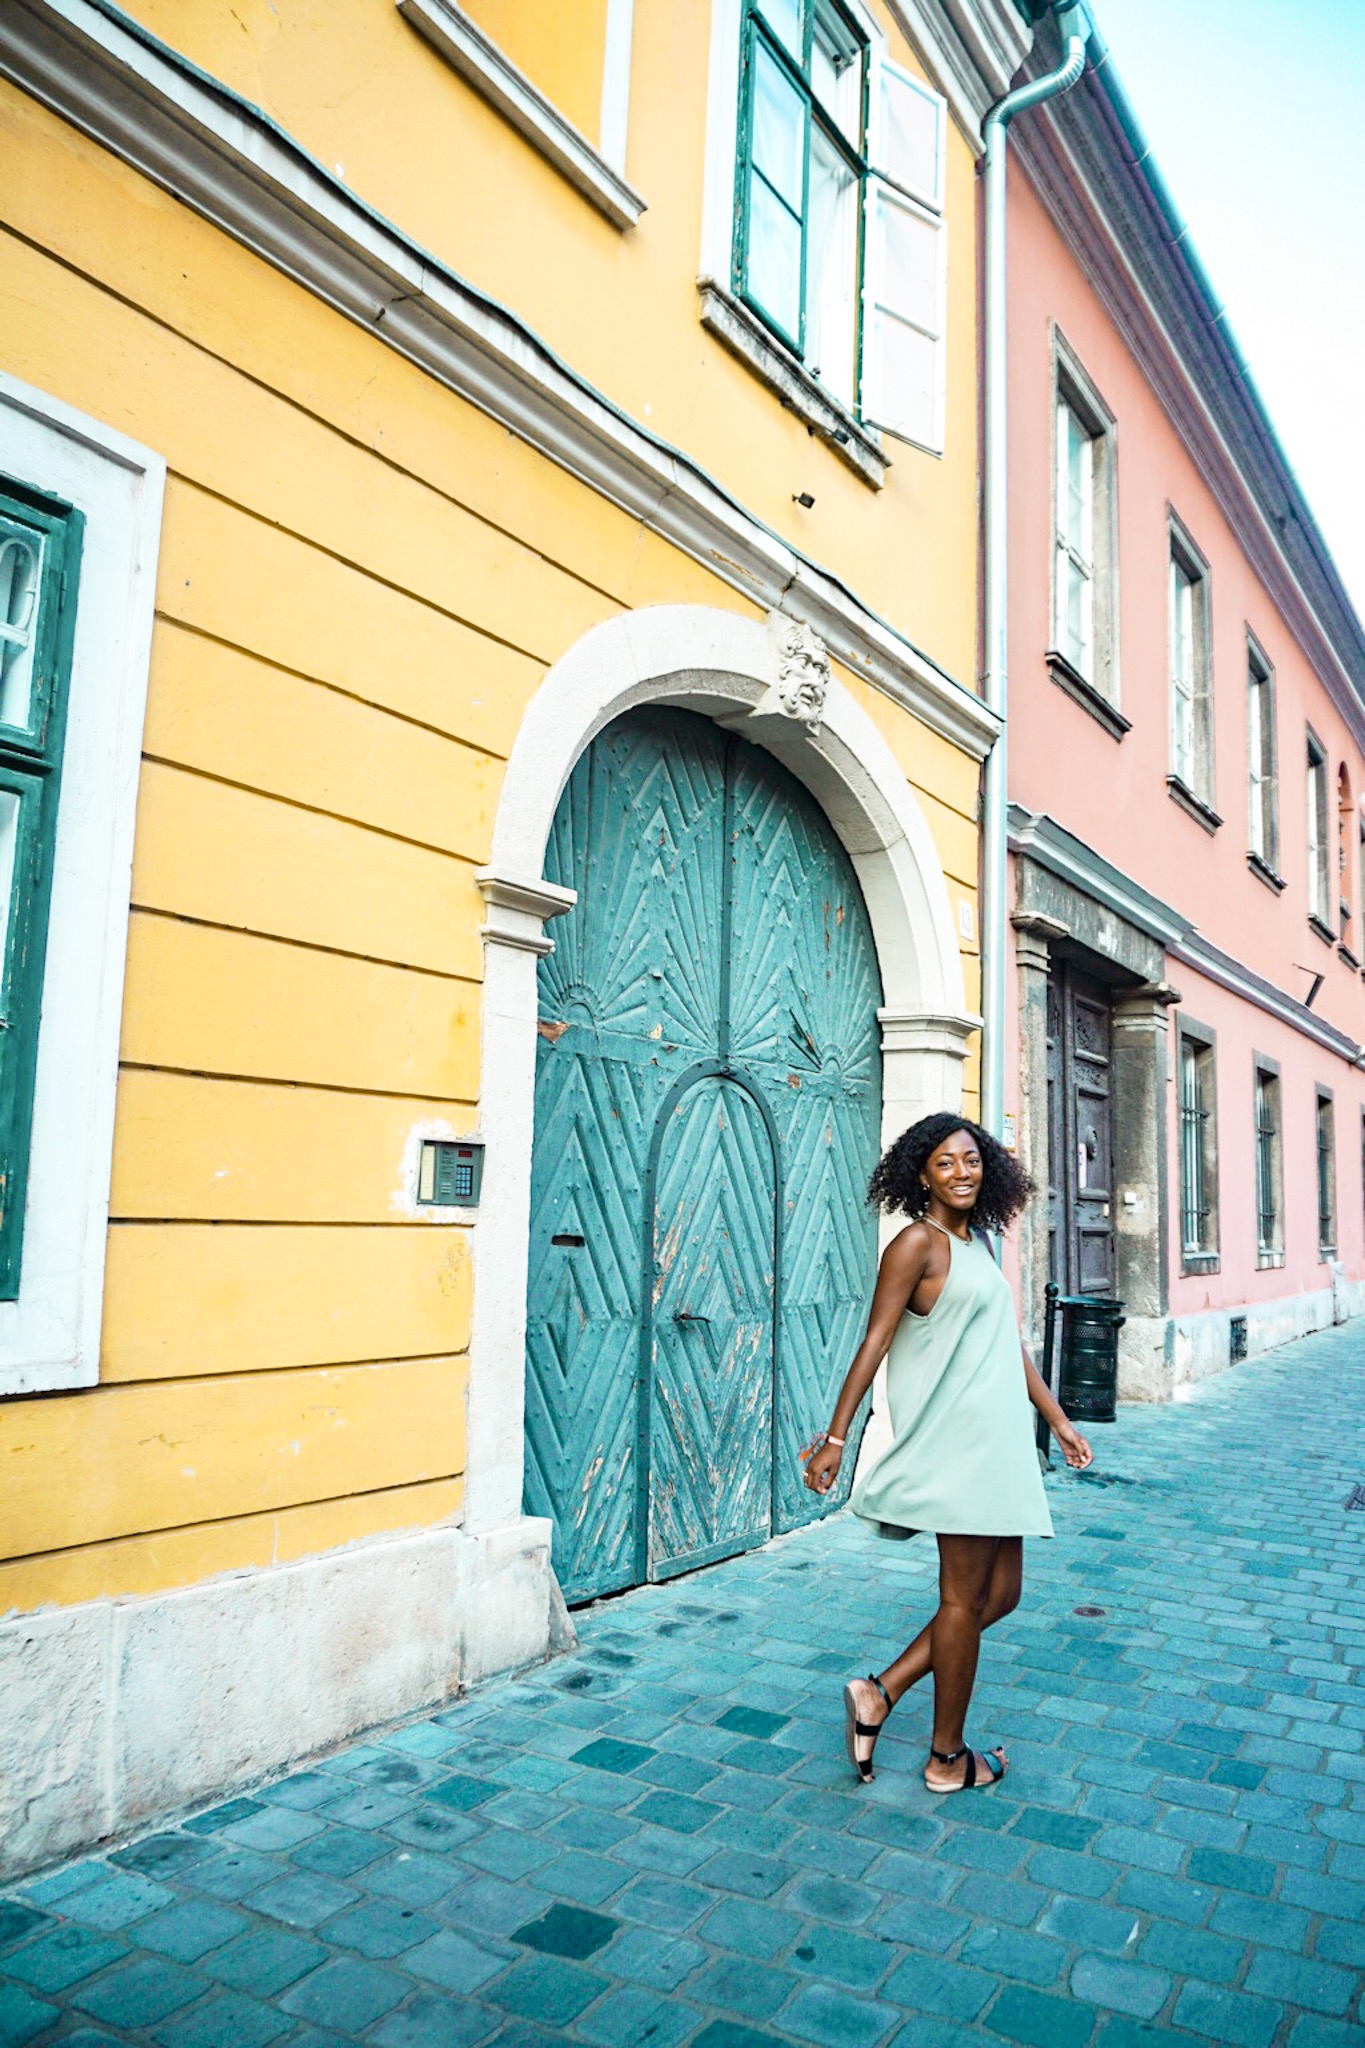
Walking Away Or Towards The Camera – If you’d like to add an element of movement to your photo, then try walking towards or away from the camera(like shown below). It’s also easy to walk away from the frame and create a “candid” shot using this pose. You can walk away and look back or do slight turn to play with movement.
Play With The Framing – Observe your surroundings and find what aspects of that destination stick out to you. Do you see a bridge, an archway, a graffiti wall, an ornate door? Use these elements to your advantage! Pose directly against the door, walk across the bridge, stand under the archway, etc. Train yourself to notice these details!
Here I am facing and walking away from the photo. My Airbnb host took this!
Here I am using my right side profile. My Airbnb host also took this.
Dress The Part
There’s no need to switch up your style or hike up a mountain in a dress, but it’s important to wear something you feel good in. It doesn’t have to be fancy or out of the ordinary, but you’ll certainly feel more comfortable in front of the camera if you wear clothes that you actually like. In my opinion, casual dresses are far more comfortable than jeans/shorts so they’re always a great option. It doesn’t take any additional effort to throw something on that both looks good and feels good to you!
How to capture photos as a Solo Traveler
Ask A Stranger
In my opinion, this is the easiest and quickest way to get photos of yourself while traveling solo. There will be plenty of other tourists around and most wouldn’t mind helping you with a photo for a few seconds. If you offer to take photos of another solo traveler or couple, I can guarantee they’ll be happy to return the favor. Now, you may be wondering how to actually get strangers to take GOOD photos of you. Here are a few tips:
-
Know Basic Photography – First and foremost, you need to know exactly what you want the photo to look like. This stranger didn’t sign up to be your personal photographer nor are they going to take a hundred photos of you until you get the perfect shot, so it’s up to you to know what you want. It’s your job to frame the photo, know the angle, and have some go-to poses before you ever hand them the camera. This will save you alot time and disappointment. When you know what you want, they’re more likely to capture the image you desire and you’re more likely to be satisfied with the outcome. You cannot expect a stranger or even a friend to know the basics of photography, so it’s completely up to you.
You should know exactly where you want them to stand, where you will stand, how you will pose, your desired angle, and what you want to be in the frame. Sounds intense, but it’s the best strategy. This way, all they need to do is press the button. Most of my photos are taken in less than five minutes with less than five shots because I know exactly what I want going into the situation. I’m able to get a few photos then move onto enjoying myself.
-
Ask the Right Stranger – It’s important to ask the right stranger to take your pictures while traveling solo. You wouldn’t want someone to run off with your camera, so choose wisely!
-
Search for the person holding a professional camera. They likely have some photography experience. They’re also less likely to steal your camera gear because they have their own.
-
Ask the millennial girl who looks like she has an Instagram
-
Help the solo traveler who is also struggling with her selfie stick – its a win win for both of you!
-
Offer to help a couple so that they can walk away with a memorable photo together. They’ll help you out in return!
-
Ask other tourists/travelers who are clearly taking photos and sightseeing as well. In general, they’re just trying to enjoy their vacation like you so there’s less chance of theft.
You can even offer to take a photo of them then reference their photo as an example of how you’d like them to take your photo. You’ll both walk away with beautiful photos to remember your trip. Plus, who knows? You could walk away with a new friend – I have!
-
Be sure to ask nicely and remember that this method can be a hit or miss. I have plenty of photo fails that were taken by strangers, but it’s just the nature of solo travel.
How To Approach The Stranger
I always say, “Excuse me, would you mind taking a photo?” or I offer by saying “Would you like some help?”. They’re usually ecstatic and they offer to return the favor. To avoid any awkwardness, I usually say “Would you mind taking a several?”, then I stand and hold the camera where I’d like them to stand before pointing to say “I’m going to stand just right there”. This helps tremendously! In addition, it’s a great way to start a conversation and make friends.
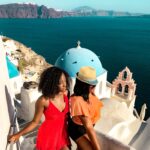
Believe it or not, a solo female traveler approached me to take a photo of her in Santorini. We were able to help each other out and we really clicked. This is one of the photos she took(with an iPhone) and it’s one of my favorites. We ended up eating dinner together and she met up with me in San Francisco a year later so that we could reunite.
Meet People And Make Friends
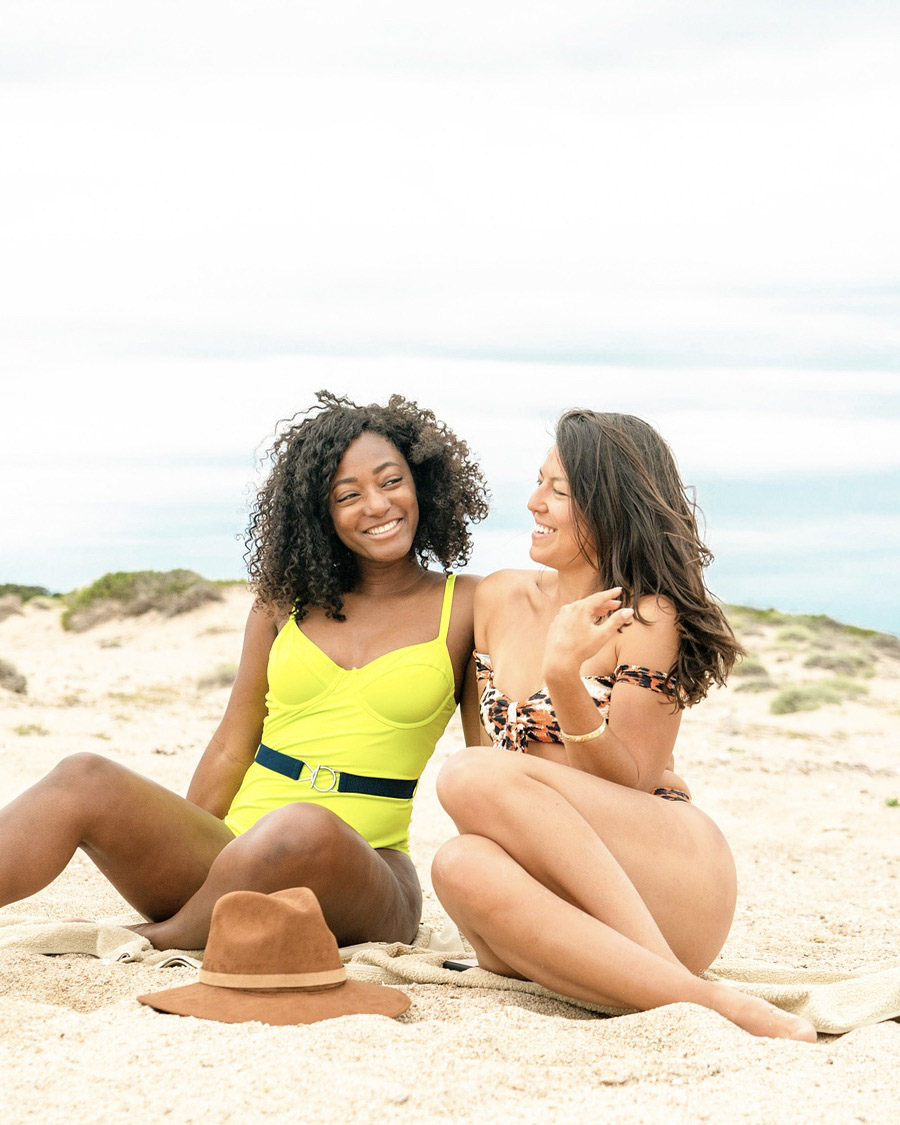
Solo travel doesn’t necessarily mean being alone. I constantly meet people while traveling solo and consequently, we end up hanging out together. When you make friends, you can easily take photos of each other and ask them to capture a few photos while you hang out. I’ve been able to walk away from trips with lifelong friends and some pretty incredible photos too!
You can meet people on day trips, in restaurants, in hostels, and many other places that you’d never expect.
RELATED: 13 SIMPLE WAYS TO MEET PEOPLE WHILE TRAVELING SOLO
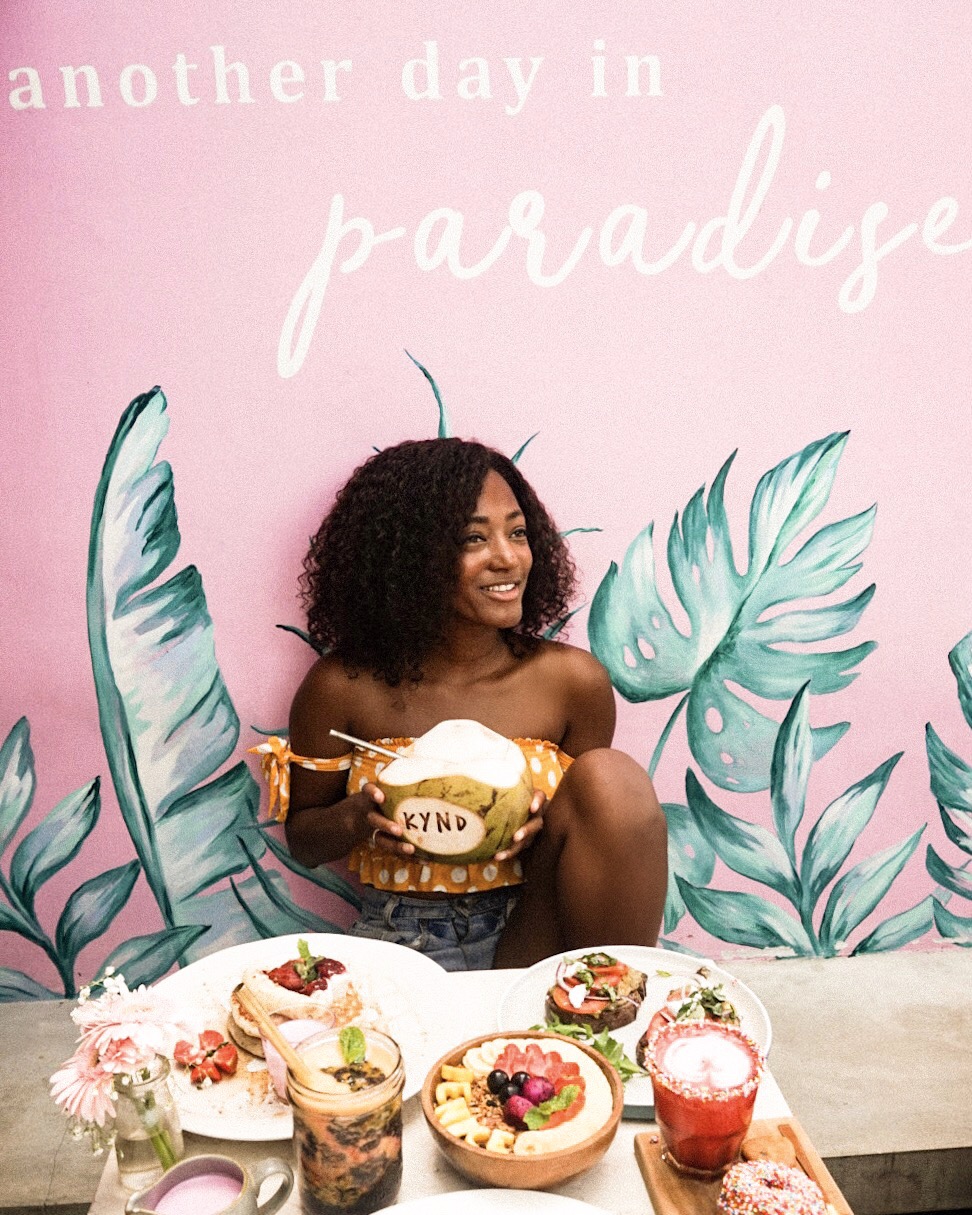
This photo was taken by a solo traveler I met in Bali. We met in Ubud and ended up traveling together for seven days because we clicked!
Join a Tour, Specifically A Photo Tour
Day tours and trips are the perfect way to go sightseeing, meet like-minded people, and walk away with photos. Usually there will be other solo travelers and couples, so you can help each other out by taking a few photos. You can even ask your tour guide to help you out!
You can also join photography tours to learn some basic skills and meet other travelers who are interested in photography. Search for photo walks, classes, and tours on Airbnb Experiences.
GET $45 OFF ANY AIRBNB EXPERIENCE
Look into this Instagram Wall Crawl in Los Angeles, this street photography class in Cuba, or this culture walk in Morocco.
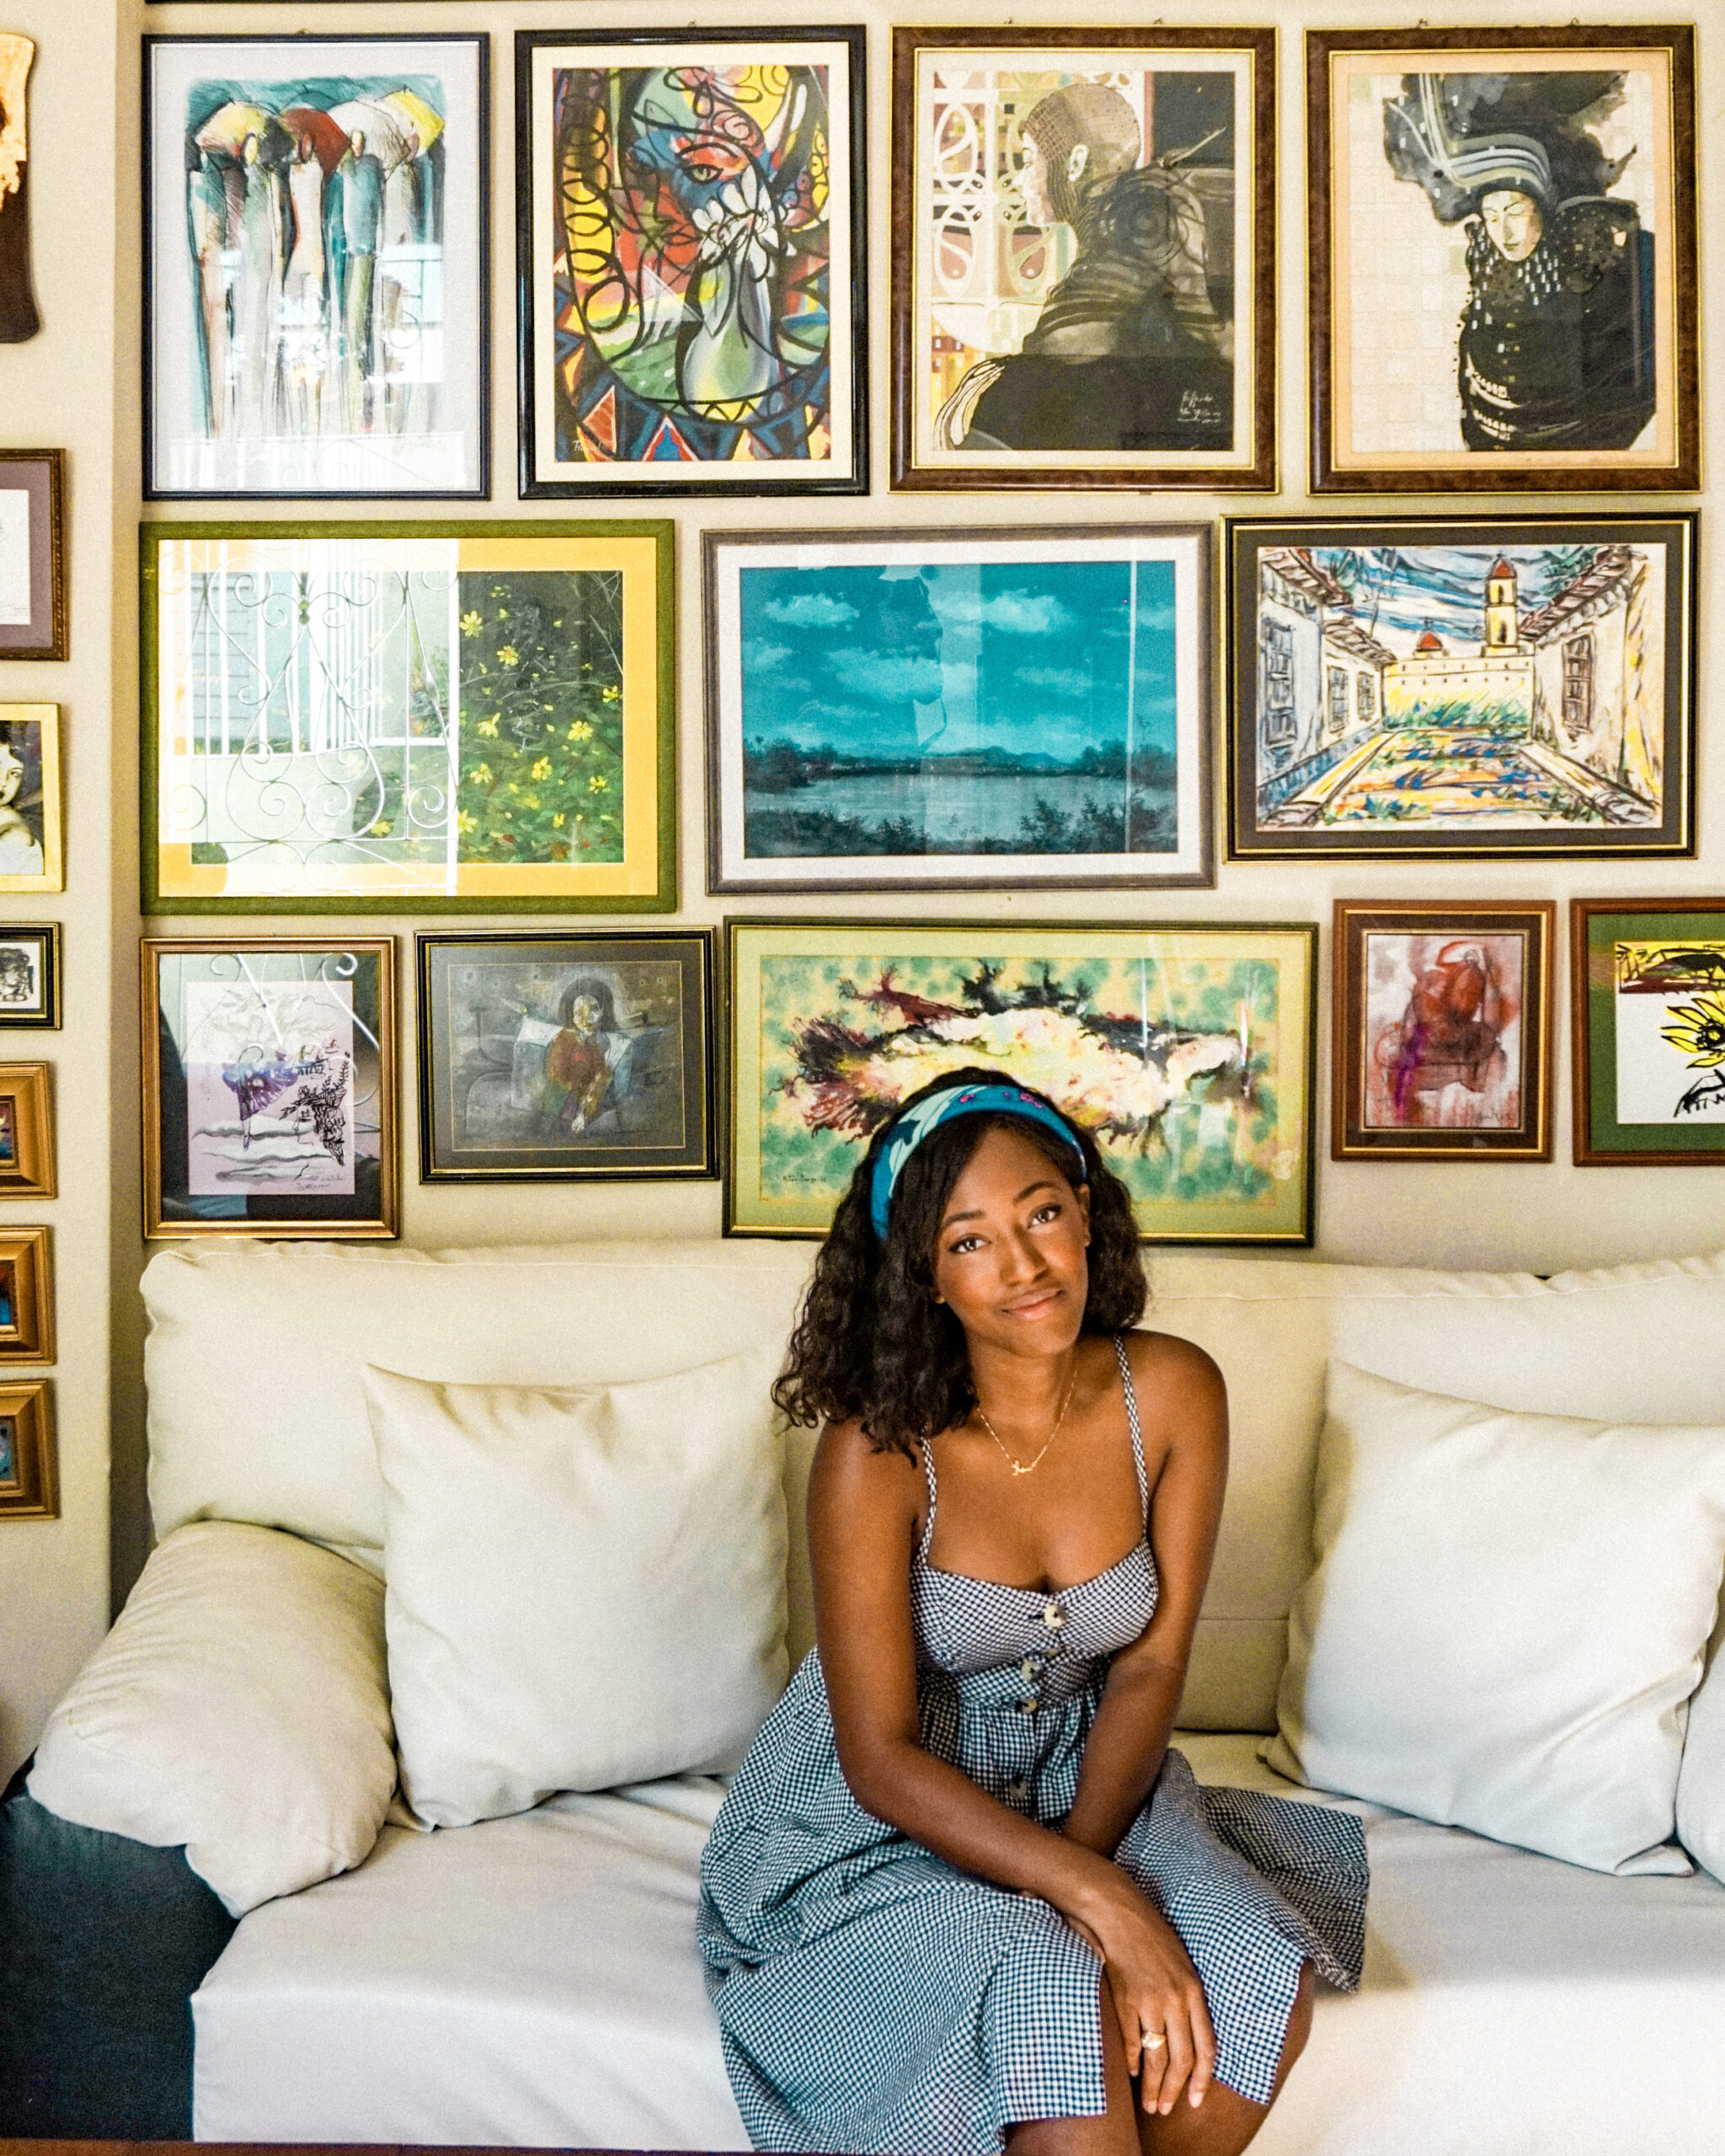
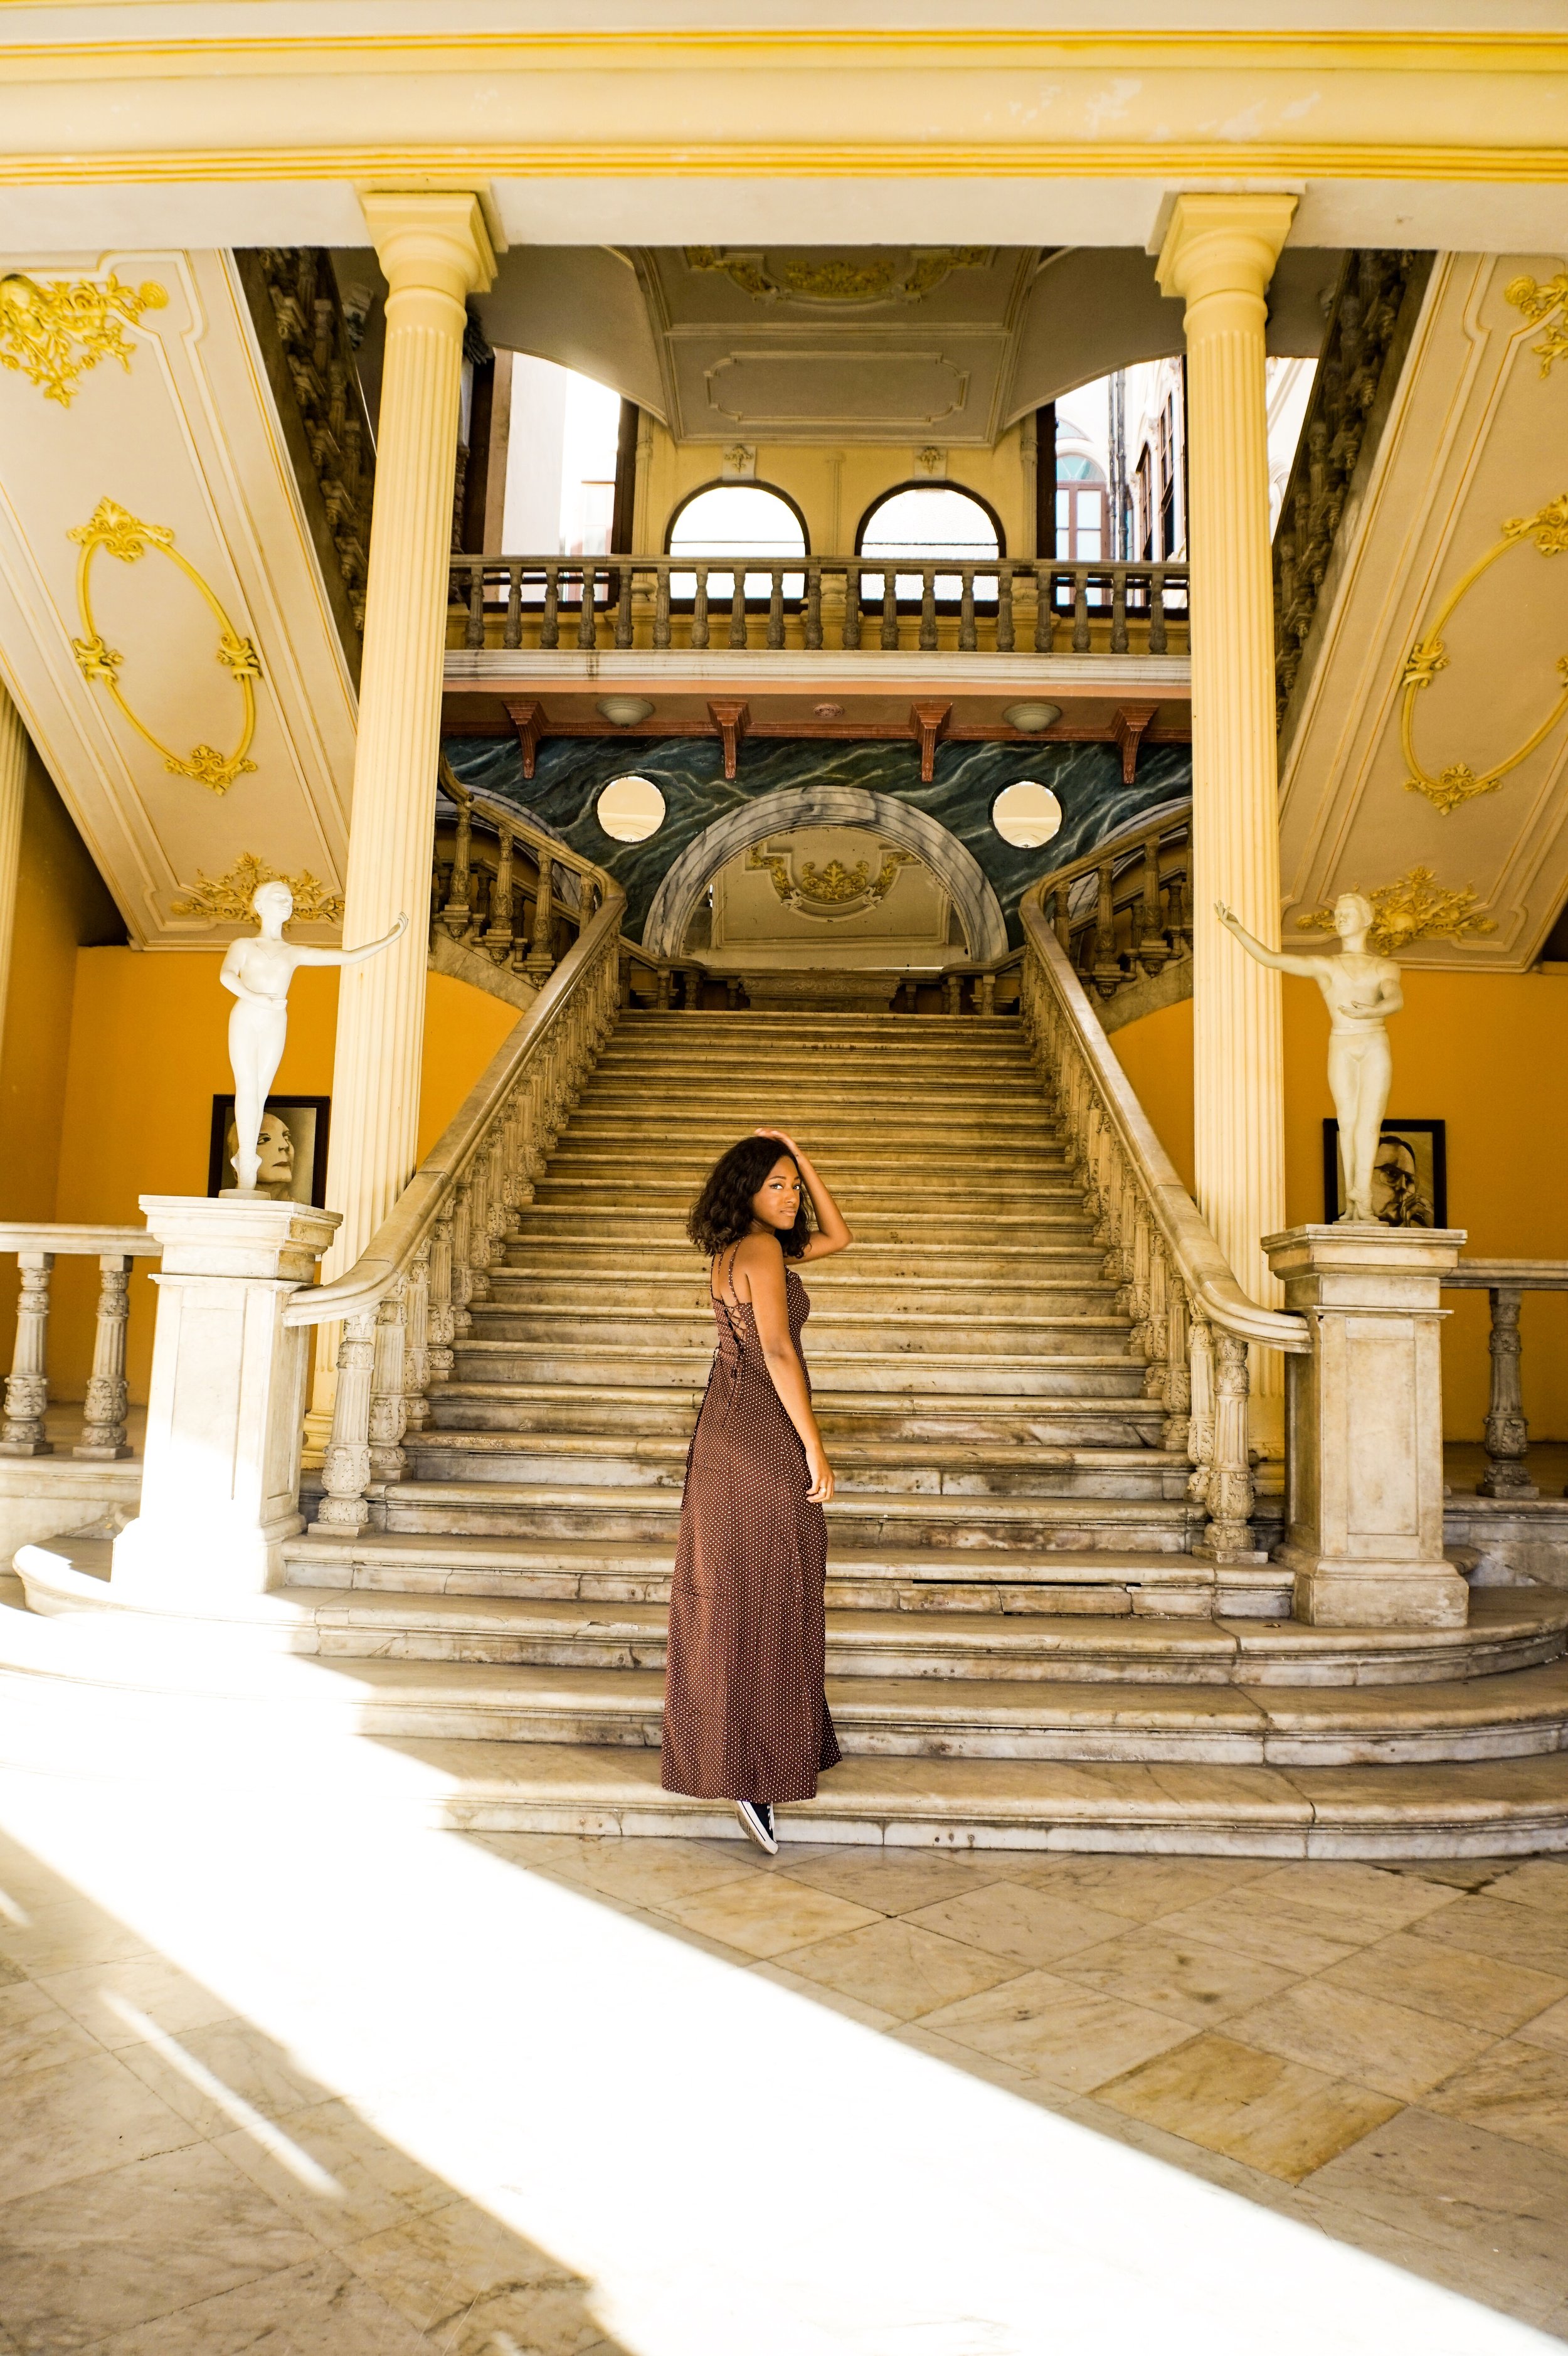
This photo was taken by my Airbnb host in Cuba. She was an angel.
Hire A Professional Photographer
If you want some high quality photos to remember your experience by, then consider hiring a professional photographer in your destination.
Check out Airbnb Experiences to search for photographers and personal photography sessions based on location.
GET $45 OFF ANY AIRBNB EXPERIENCE
Check out this personal photography session in Morocco, this Eiffel tower photo session in Paris, or this personal photo shoot in New York City.
Alternatively, check out Flytographer to book a photographer around the world. Get $25 off a session with code: CIARAJOHNSON
OR
Visit Shoot My Travel too book a local photographer in your destination.
I’ve personally never hired one, but a photographer approached me at a cafe in Bali and asked if she could take photos of me!
Use A Tripod
I’m not the biggest fan of using a tripod, but many solo travelers swear by it. Be sure to purchase a sturdy tripod, arrive as early as possible to avoid awkward stares/crowds, and keep an eye on your gear to prevent theft. Always be aware of your surroundings while shooting with a tripod to remain safe.
-
Set a Timer – Use the timer function so that you have time to set up your shot & pose before pressing the shutter.
-
Buy a remote – Use a remote to control the shutter without having to run back and forth. Hide the timer by putting your hand behind your hat or body using a clever pose.
-
Use burst mode – Burst mode will help you capture many photos in a short amount of time. Switch up your poses and WORK IT!
Avoid shooting in extreme weather conditions. A windy day in Dubrovnik, Croatia led to a broken camera when it fell off my tripod. This may or may not be part of the reason I have something against tripods.
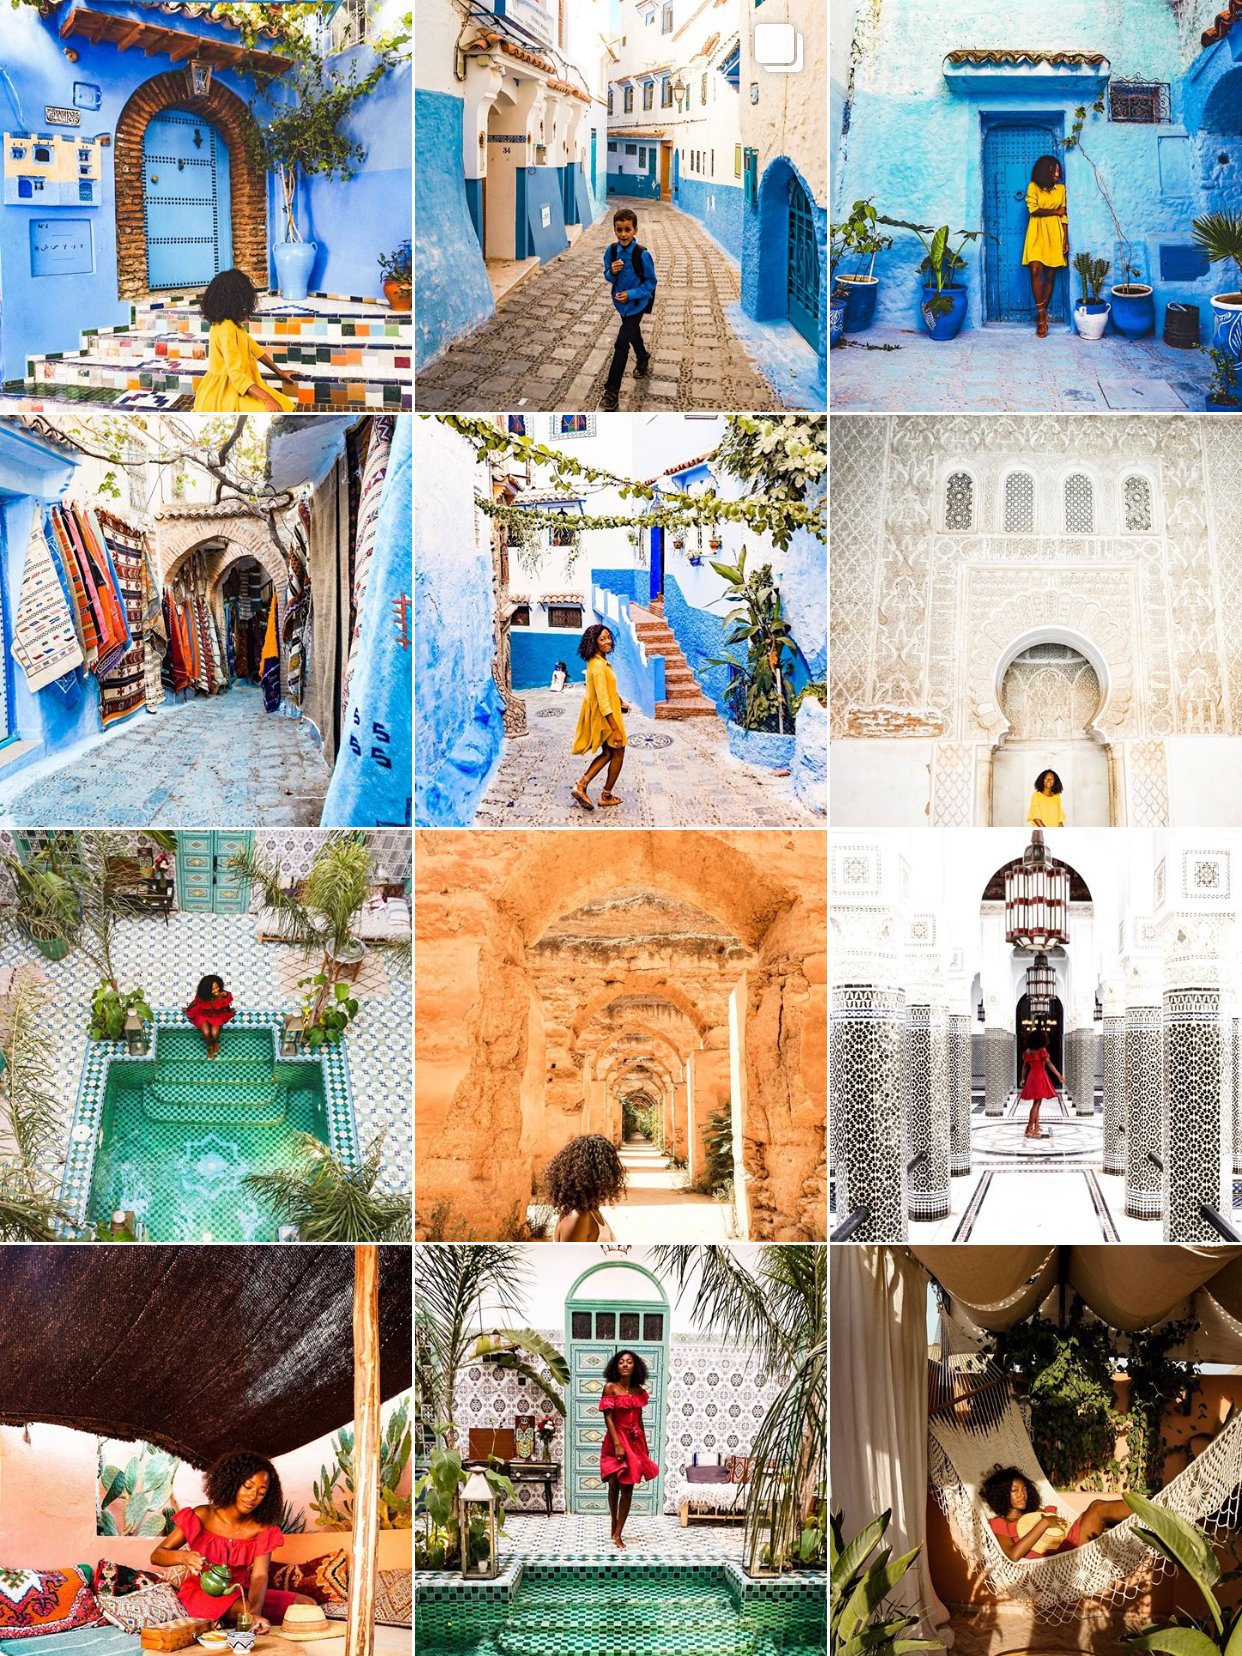
This photo was taken with a tripod in Chefchaoen, Morocco.
Hire A Guide
If you hire a tour guide or translator, you can easily ask them to snap a few pictures as you explore the city. I’ve used this tactic and tipped extra to express my gratitude!
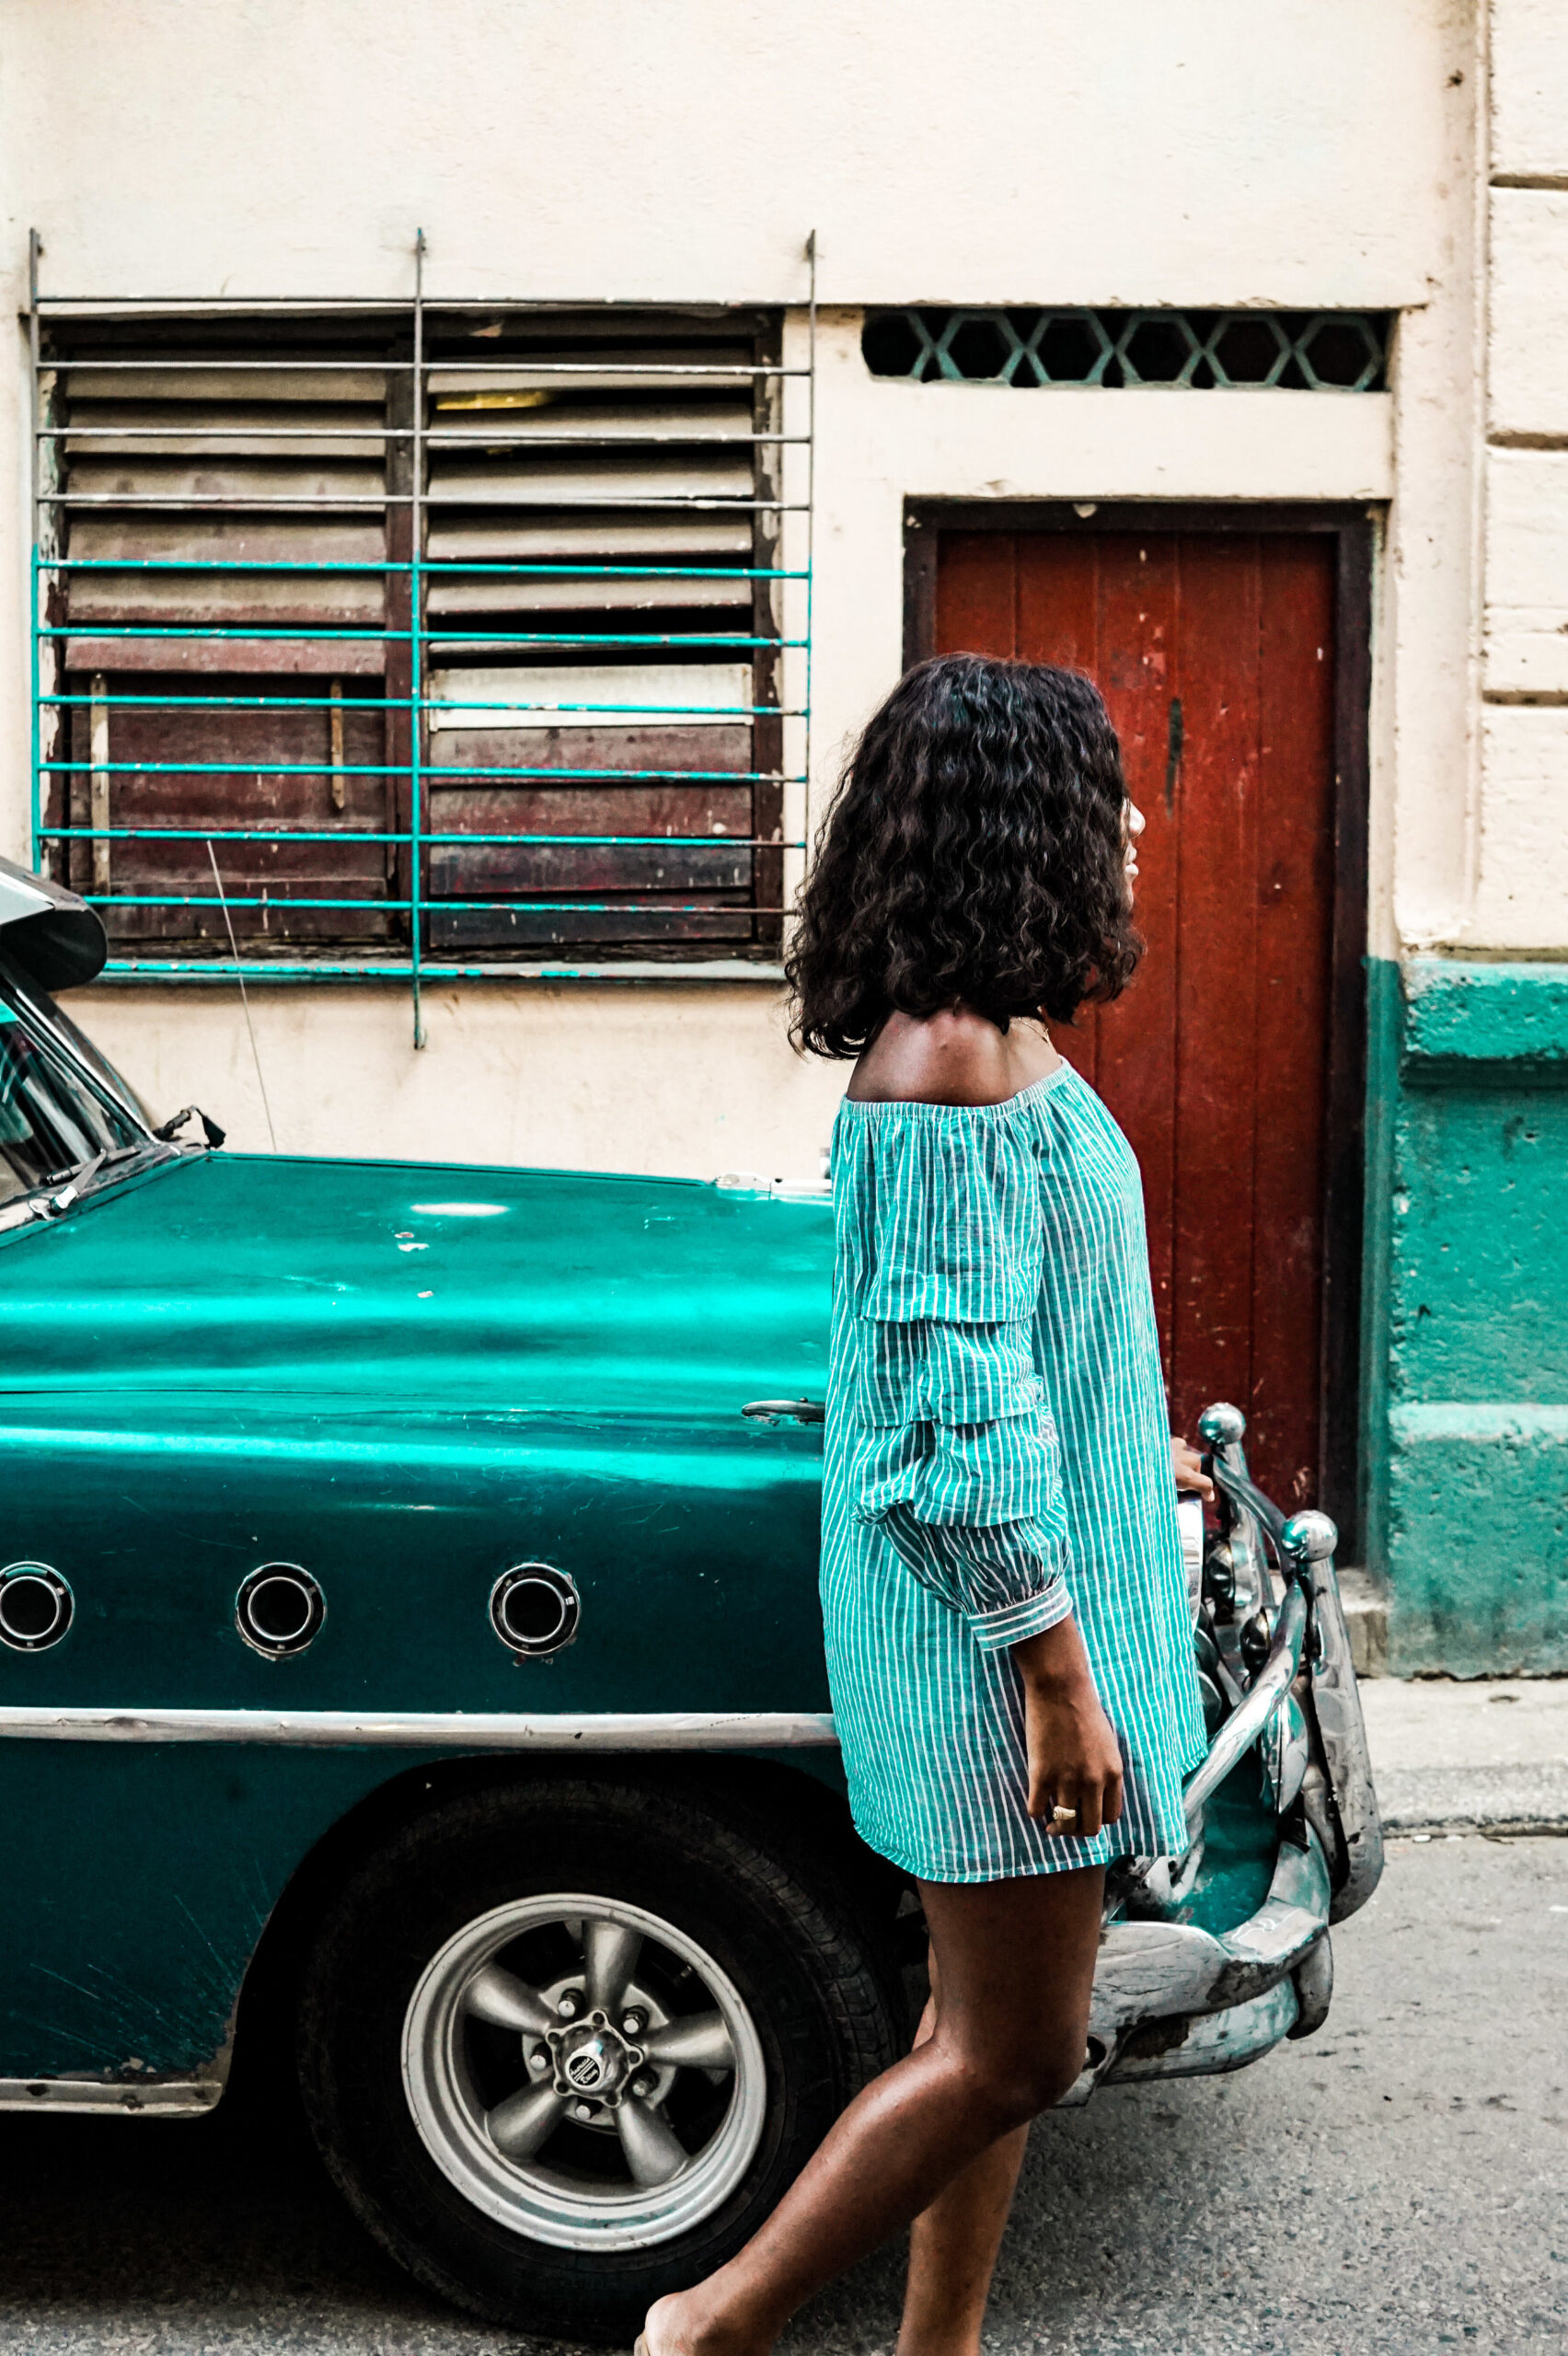
On my final day in Cuba, a local boy asked if he could take me on a tour of Havana – he wanted to earn some extra money! I initially declined, then thought, “why not?”. I learned so much about Cuba during our city walk and he snapped this photo of me!
Ask An Employee
It’s normal for couples and families to ask employees to help out with a few photos at birthday dinners or dates, so why not do the same? Be sure to ask nicely and make sure they aren’t busy!
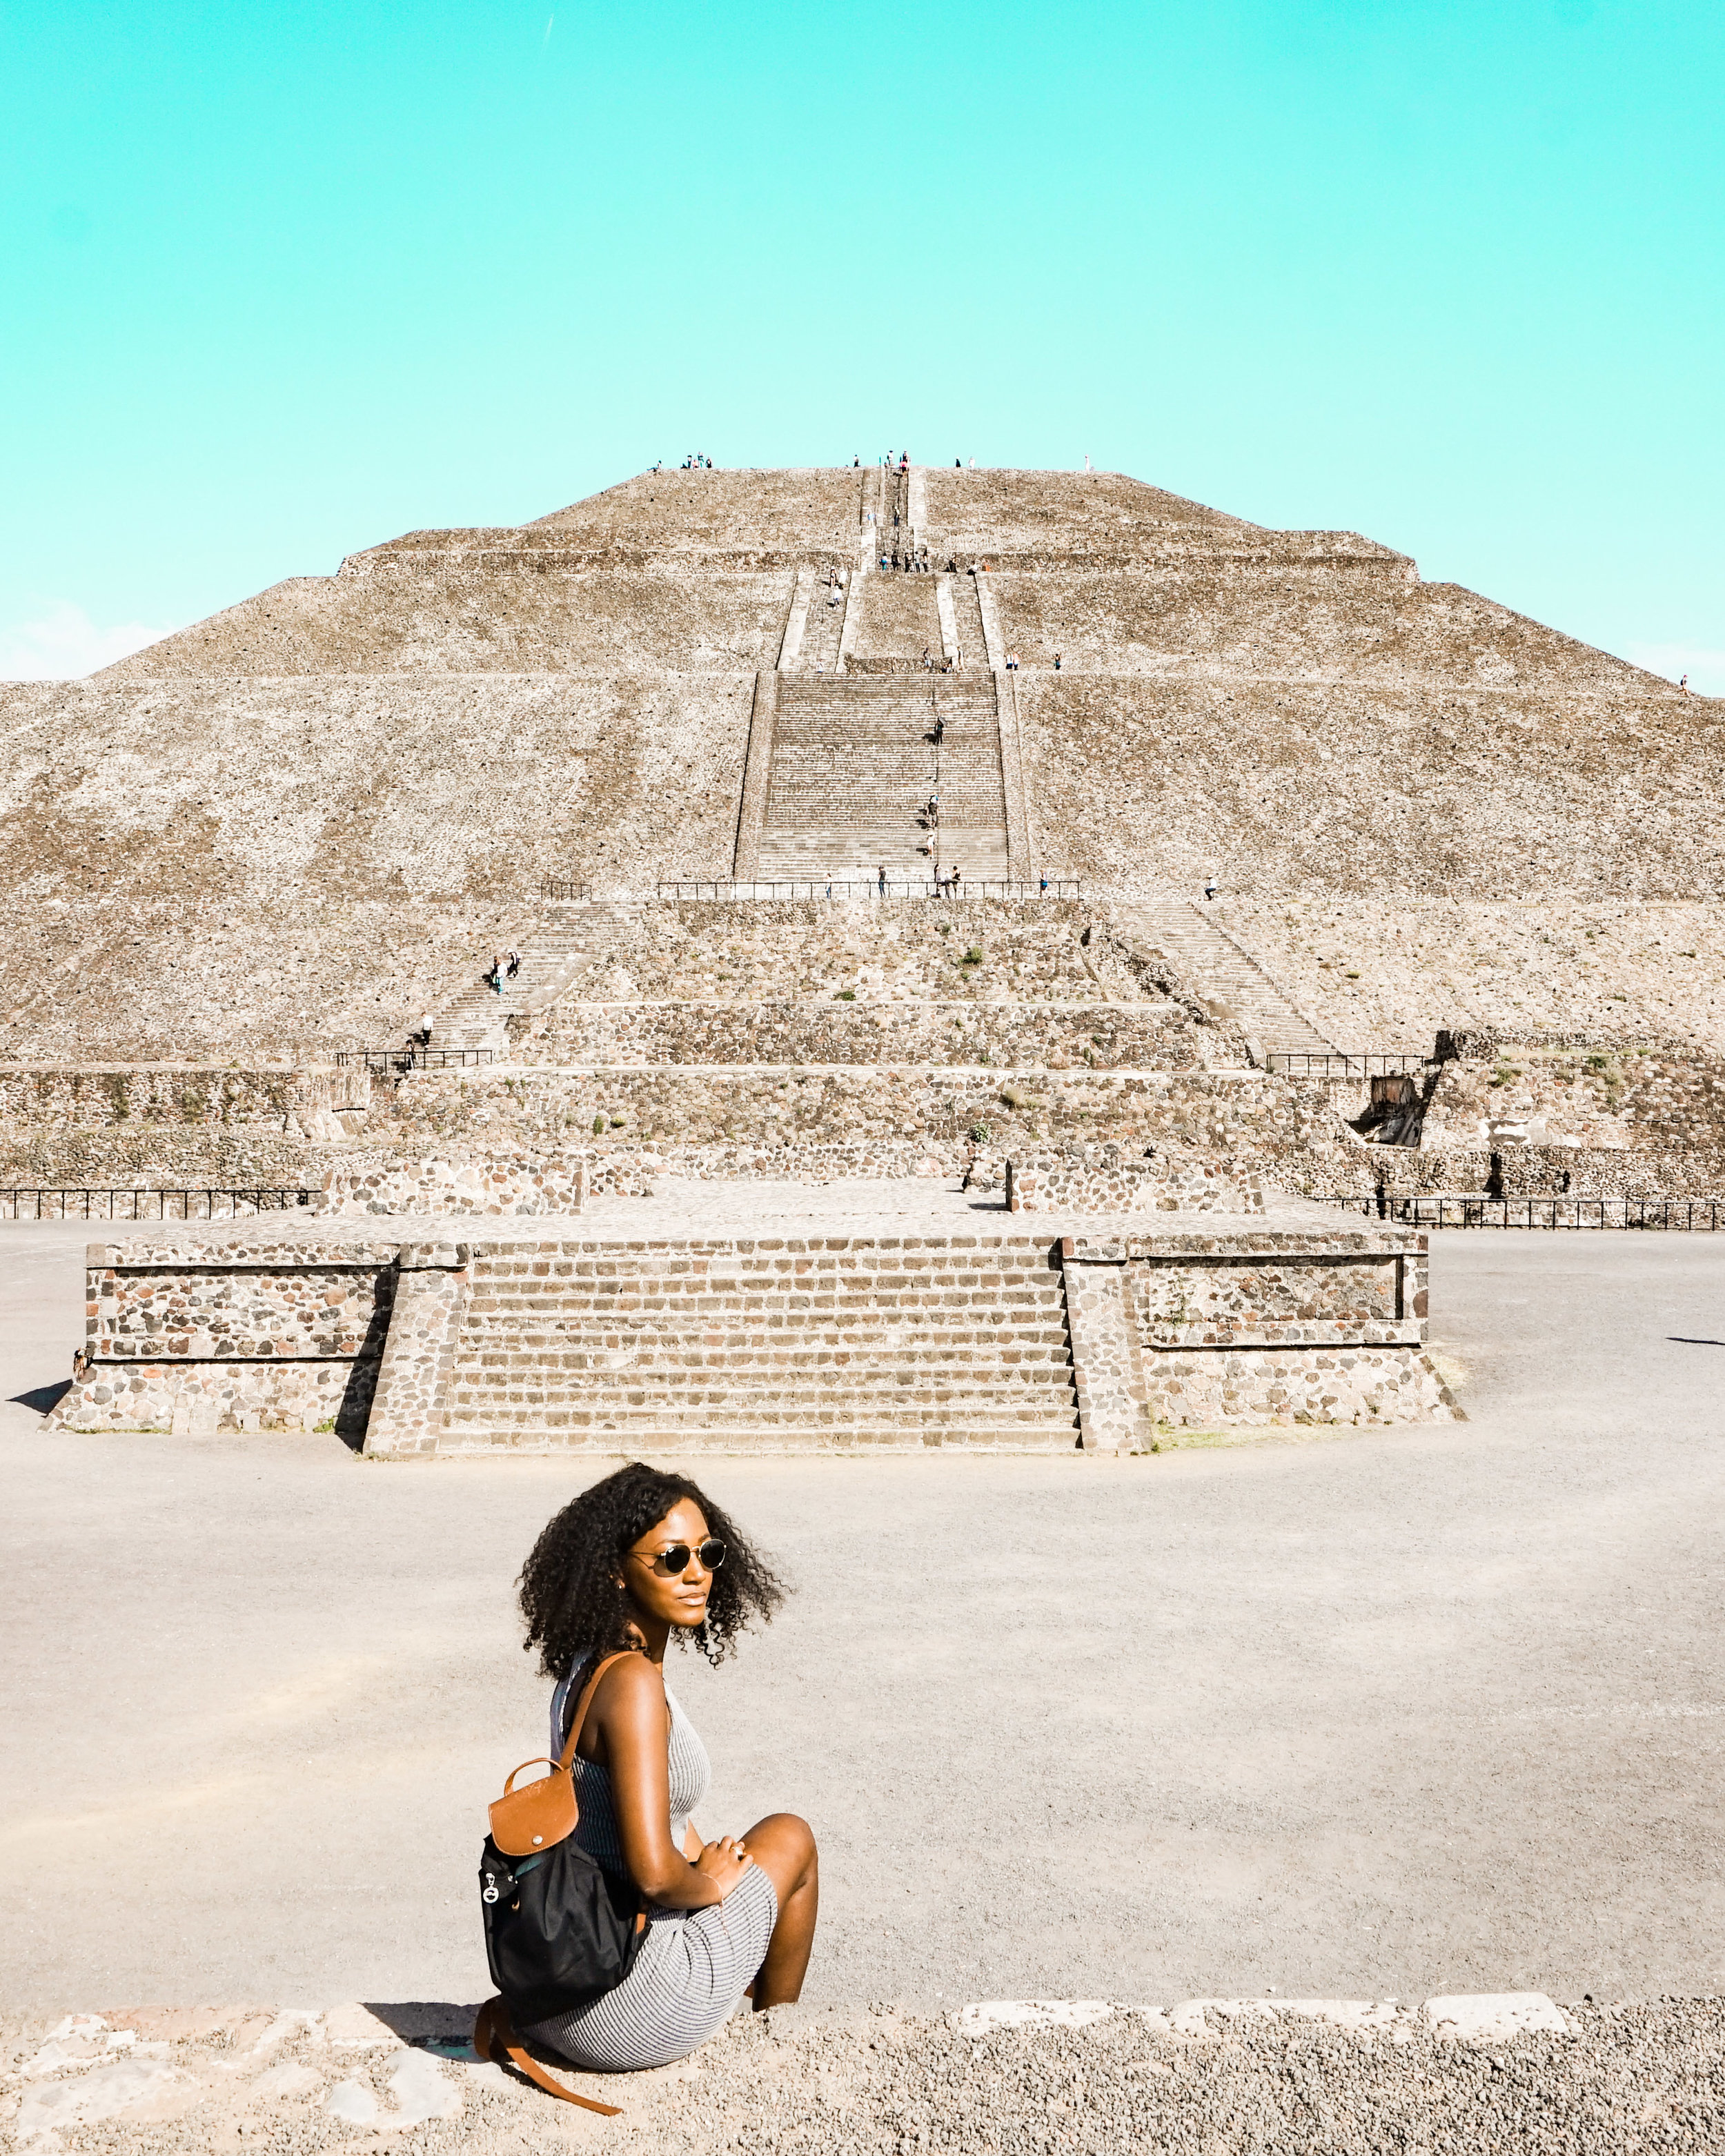
This photo was taken by a hotel employee in Mexico city. I knew exactly where i would sit and what angle I wanted, so she took this photo within two attempts.
The owner of this rug store in Marrakesh, Morocco actually offered to take this photo of me. I was really grateful!
Prop Your Camera Up
You can easily use a ledge to prop your camera up for a quick photo. Look around and see where you can place your camera . This works wonders if you don’t have a tripod!
I simply sat my camera on a nearby ledge and used the camera timer for this photo in Mexico City.
Bring A Go-Pro
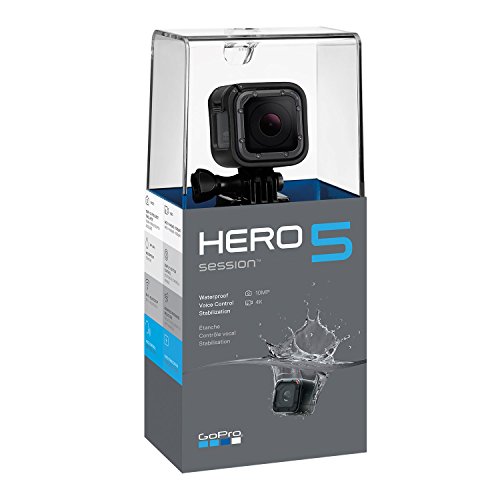
Go-pro cameras are great for capturing action shots, underwater selfies, and wide-angle shots. They’re lightweight, durable, and rather discrete – which may be perfect for solo travelers.
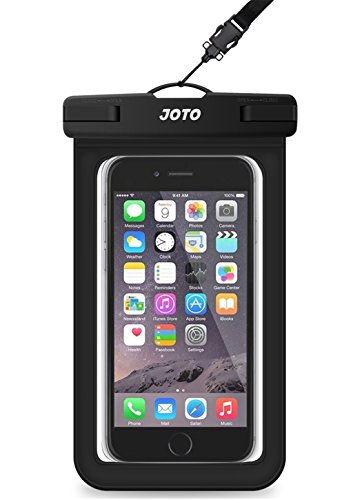
This five dollar waterproof phone case is a great alternative if you don’t want to drop hundreds on a Go Pro! I’ve used it around the world.
This photo was taken with a go-pro at Krka National Park in Croatia
Bring A Compact Camera
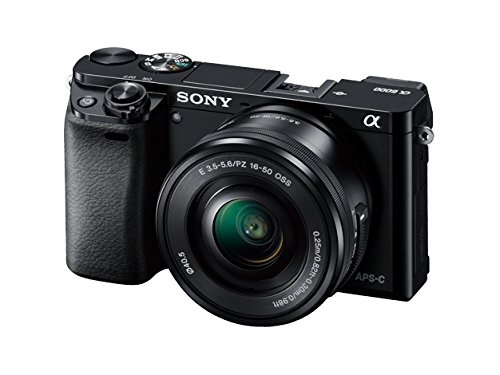
When I had a bulky DSLR, I hardly used my camera. It was way too bulky and distracting, especially while walking around a city alone. These days, I use a Sony a6000 which has the power of a DSLR at nearly half the size. I can throw my camera into my backpack and sometimes even my purse. It’s much more convenient and lightweight, which encourages me to use my camera more.
You can even use your phone camera to get some shots if you’re not ready to invest in a different or more expensive camera. You’d be surprised how well the iPhone works if you understand some basic photography tips.
This photo was taken with an iPhone 6.
Learn Basic Photography
Your photographs will be infinitely better if you learn some basic photography tips before you go. You don’t need an expensive camera to capture great photos. Start with your phone camera and practice framing shots! You don’t have to be a professional, but these fundamental tips will help you learn how to capture decent photos while traveling solo.
Why should you learn basic photography skills?
-
As a solo traveler, this is one of the best ways to preserve your memories and share your experiences abroad.
-
You’ll be able to capture better photos of your family, life, and travels. You’ll learn how to take better photos of yourself and easily show others how to do the same. Any stranger or friend can take a decent photo of you when you know how to frame the photo for them.
-
You’ll learn how to truly appreciate the world around you and share your vision of it.
-
It’s a creative hobby that you can use at home or abroad. It will also keep you busy as a solo traveler.
-
It’s a great way to practice mindfulness. You’ll begin to see details that others might to overlook.
Practice
Start taking photos before you travel. Walk around a different part of town and capture buildings or structures that stick out to you. Once you get to your destination, spend time taking photos of markets, daily life, or anything else that catches your eye. As soon as I check into a hotel, I put my bags down and grab my camera to explore the city. Have fun with it and your photography skills are sure to improve with time.
Learn About Lighting
-
Use Natural Lighting for the best photos
-
Avoid shooting at midday with direct sunlight, which will create harsh shadows and lines
-
Be sure that sun isn’t behind you/your subject’s back
-
Shoot at golden hour, particularly just after sunrise or just before sunset
Learn About Exposure, Composition, And Perspective
-
You can manually adjust the exposure if your photo is too dark or light
-
Adjust your perspective to play around with angles and depth. Squat down, step back, move closer, hover above, angle the camera differently, and reposition yourself until you get your desired outcome.
-
Practice composing your shots using the rule of 1/3. You can do more research on this rule and use the built in grid on your phone/camera.
Quality Over Quantity
Instead of taking pictures of everything you see, slow down and focus on getting a quality shot. Take your time and wait for that person to move out of the frame. Grab that piece of trash off of the ground and observe what’s happening in the background. Look for symmetry and pay attention to detail. Ultimately, you’ll be happier with your shots.
This photo was captured in Morocco with less than three attempts. I knew exactly where I would stand and what pose I would do before asking another traveler to take the shot for me. I then returned the favor by capturing a photo of her and her friend.
How I Edit my Photos
Most cameras aren’t capable of capturing the vivid colors you may see in real life, so editing can really bring your photos to life. Editing can also help to convey a specific mood and personalize your photos however you may see fit. Just be careful not to overdo it!
I avoid Instagram and phone filters like the plague, because they’re extremely limiting. I use the Lightroom Mobile app to adjust specific elements of the photo based on my preferences. It’s completely free to download and you can adjust everything from the ‘exposure’ to the ‘clarity’ of the photo. You can literally transform your photos using the features in this app. Check out the example below:
Before editing – taken on a glacier tour in Iceland
After editing
This photo was taken in a glacier cave in Iceland and the reality is that a photo could never do this place justice. I was brought to tears inside of this cave because it was just THAT unbelievable. The original/unedited photo is dull and it doesn’t truly reflect the shadows and colors inside of the cave – it was pitch black. With a few tweaks, I was able to darken the shadows, increase the vibrancy, reduce the exposure, and increase the clarity.
If you prefer to edit quickly and save time altogether, then you can purchase presets to use in Light room mobile or check out these free apps with built-in filters:
-
Snapseed
-
VSCO
-
Huji
-
A Color Story
BACKUP YOUR PHOTOS
Last year, I lost thousands of photos after misplacing my phone in Guatemala. That’s two months of travel photos that I’ll never be able to get back. I’ve since learned my lesson and I can’t stress how important it is to backup your photos while traveling.
-
Use Google Photos – Google applications are top notch. This is a free app that will automatically backup your photos with wi/fi and/or data. The features in this app are incredible. You can type anything into the search bar like ‘red car’ or ‘passport’ and it will pull up the photo, which is way more convenient than scrolling through thousands of photos. You can edit the photos yourself or the ‘assistant’ feature will edit the photos for you. After the photos have uploaded, you can access them from any computer or phone with your login info. This is especially handy if you lose or break your phone like I have in the past.
-
Upload to your laptop or tablet – Back up your photos to a tablet or laptop as soon as possible.
-
Use a hard drive – If you have a high volume of photos, then its best to back up your photos on a hard drive during your travels.
How to Take Photos without Running Your Trip
Contrary to popular belief, it’s definitely possible to take photos AND enjoy your trip. Balance is key. It can be easy to get caught up in documenting the moment, but I’m here to tell you that the best travel experiences can’t be captured. The meaningful conversations, late nights out, and people you meet along the way will mean way more to you than any photo ever will. I can imagine that you invested time and money into this trip, so do you really want to obsess over photos the whole time? At the end of the day, your photos should be a byproduct of an incredible trip – not the sole purpose or motive.
-
Set Intentions – It’s so important to think about your motives. Are you on this trip to truly witness breathtaking landscapes and improve your photography or do you want validation through social media? If you’re seeking validation, then ask yourself why. Define or set a goal for your trip and refer back to it whenever you find yourself straying away. Check yo’ self, if necessary.
-
Set Limits – If you go to the beach, spend 10-15 minutes taking photos and then go for a swim. Rise early to take photos and then spend the rest of the day exploring. Photos don’t need to take over your entire day or experience. Set aside a specific time to take photos and then focus on having fun.
-
Avoid posting in real time – As a solo traveler, I never post in real time – for safety reasons and my personal enjoyment. Editing and posting on social media can completely distract you from the moment. I usually edit and post once I’m back in the hotel room relaxing or winding down after a long day. Put your phone on airplane mode if that helps!
-
Focus on the process, not the outcome – Photography can actually take you deeper into the moment if you’re truly enjoying yourself. Focus on having fun, instead of worrying about Instagram or how many likes you’ll get. There’s no way you can regret taking photos if you’re truly having a good time. At the end of the day, there’s no reason to let pictures(or the lack thereof) ruin your trip.
-
Do it for yourself – Solo travel is extremely personal. It’s important to remember that you’re doing this for you and nobody else. Remember that your personal satisfaction is priority and you don’t need photos to prove anything. Do whatever makes YOU happy and forget what others think! It would suck to have thousands of ‘epic’ photos for everyone else to see, yet zero memories that truly make you feel good about your trip.
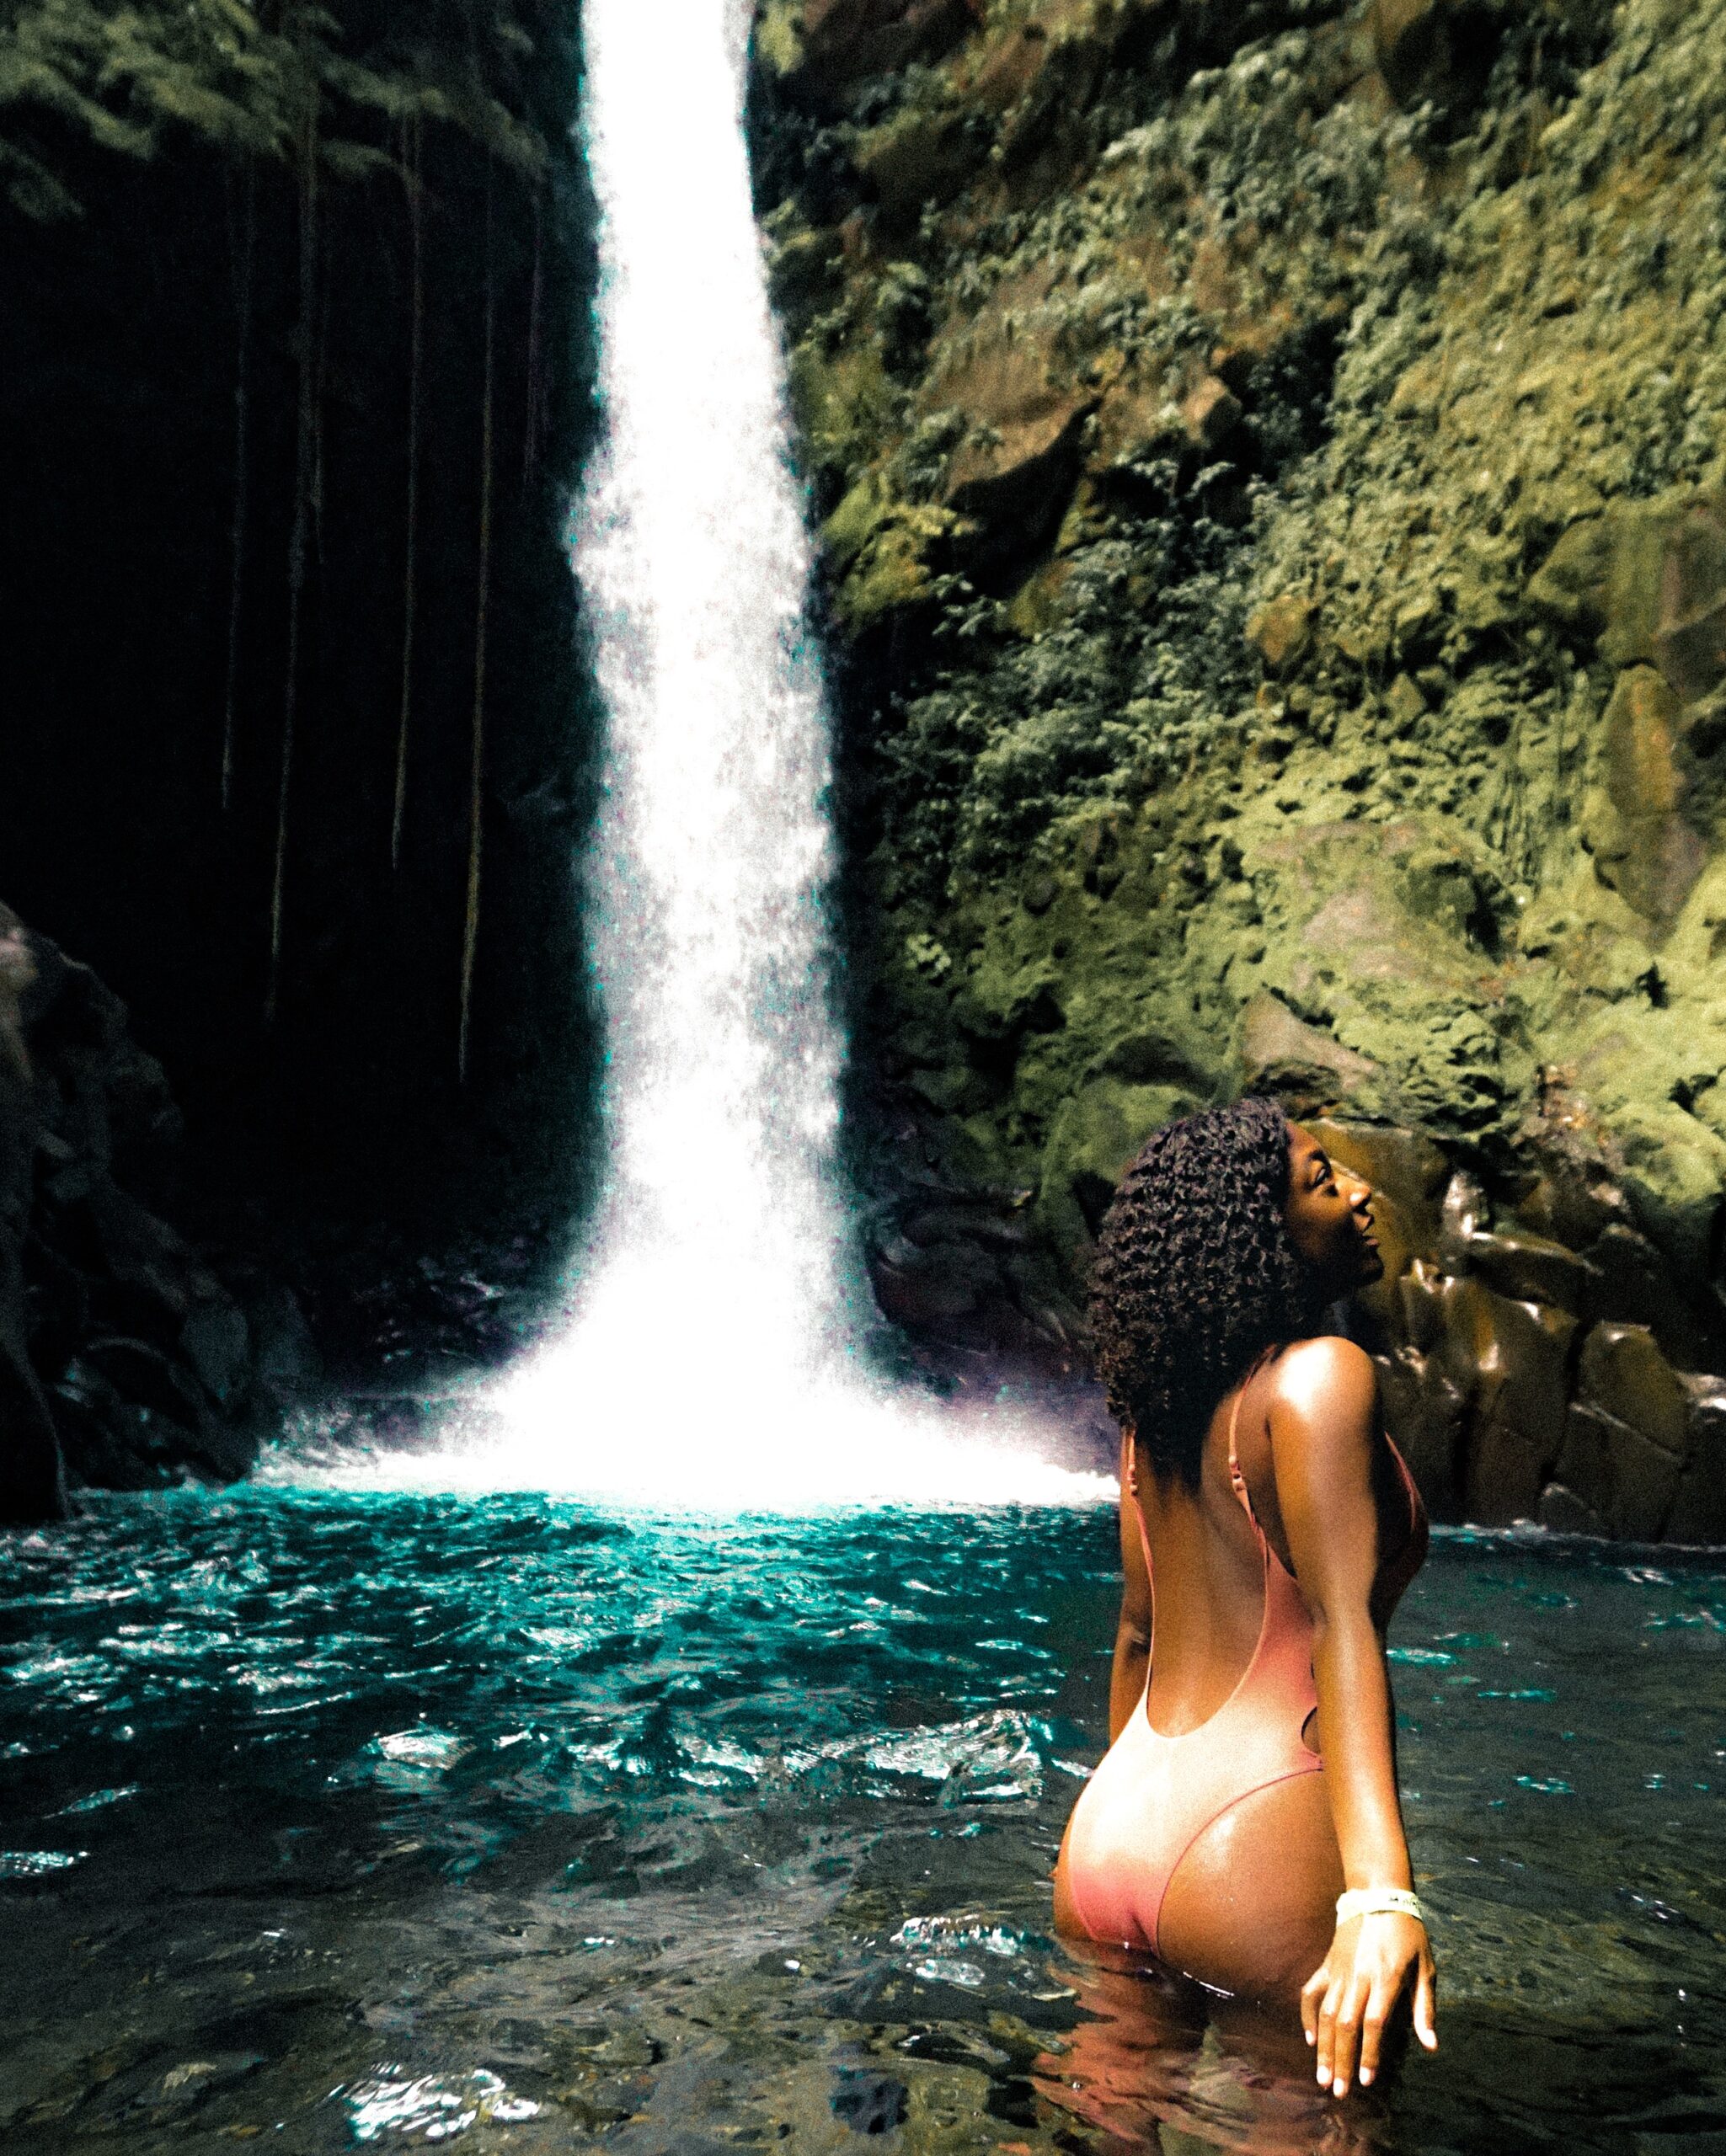
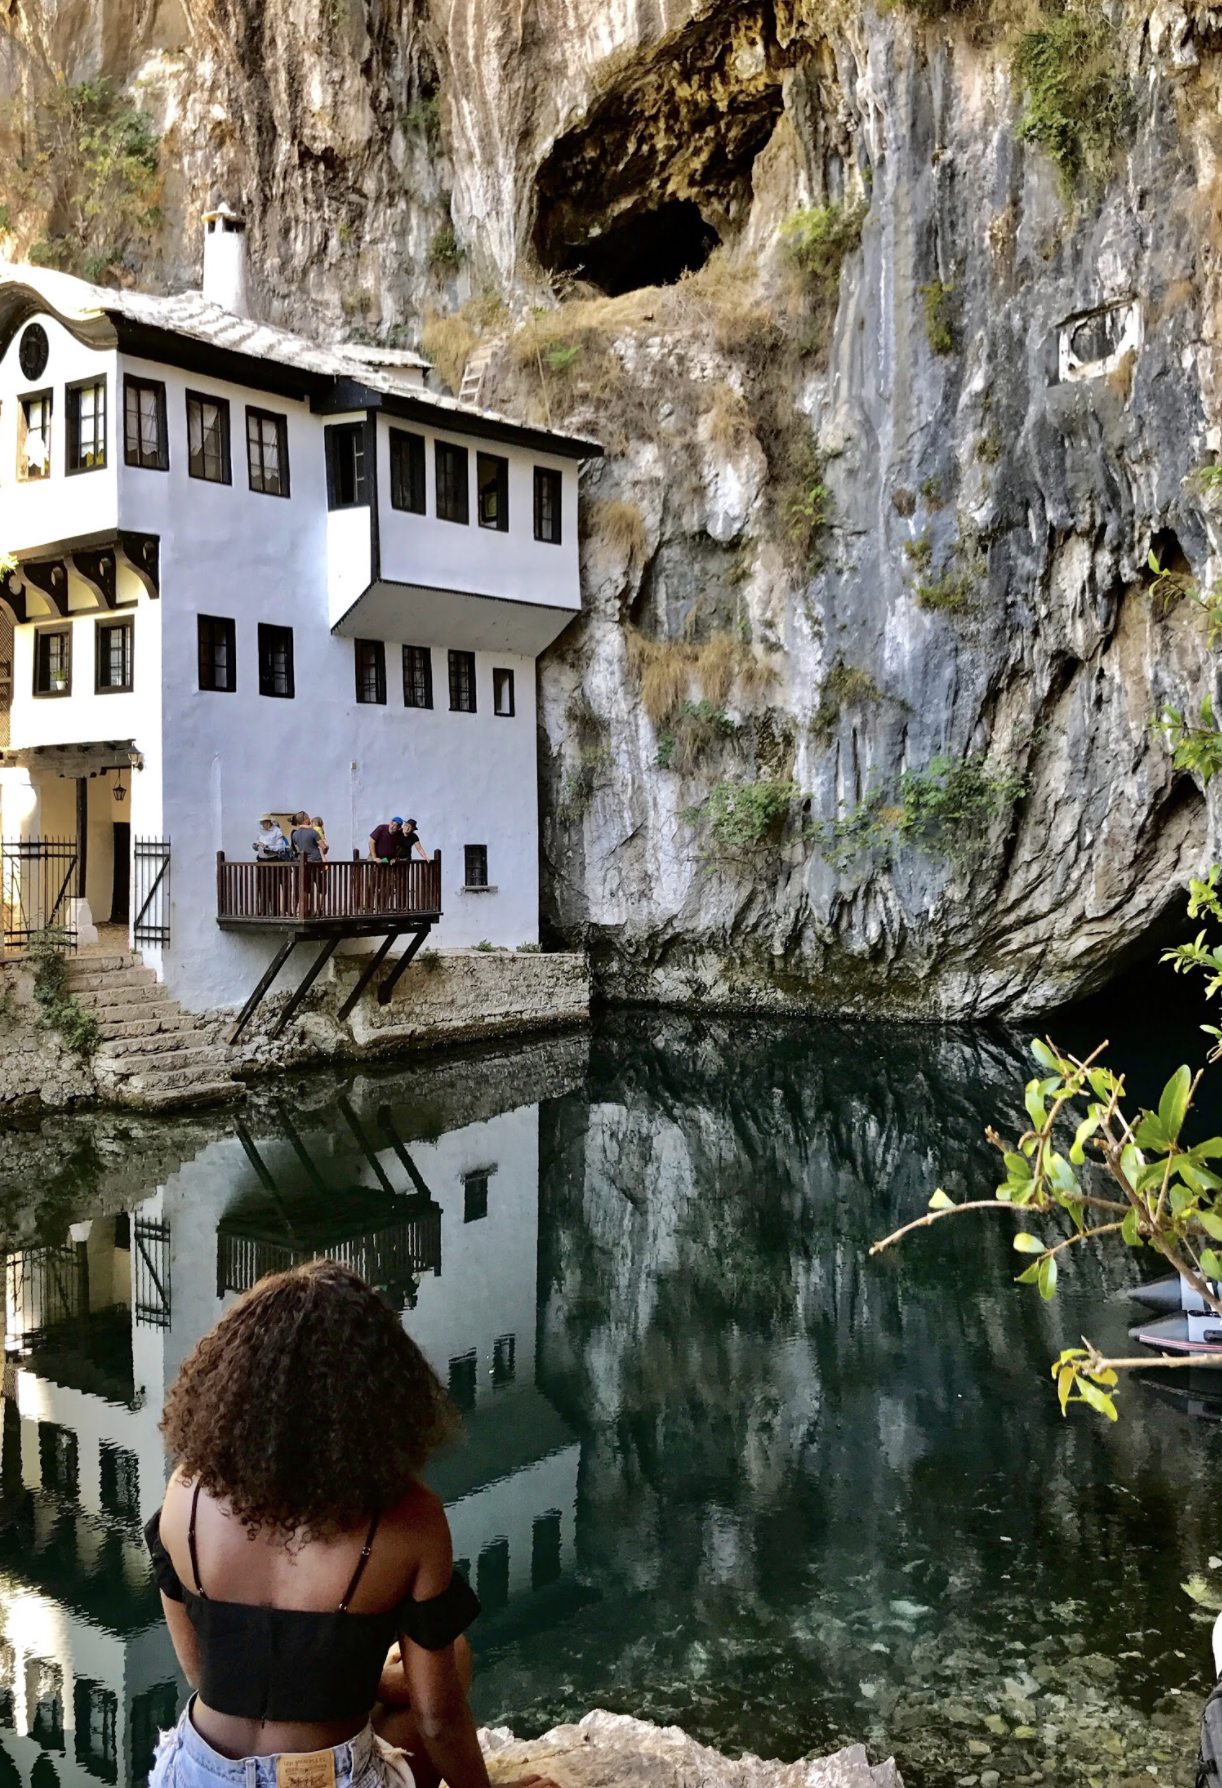
This photo was taken in Iceland. I was told there was a waterfall canyon located behind a farm. I was simply searching for this hidden waterfall to stray away from the crowds. As a result, I stumbled upon a breathtaking sight. Getting a photo was only a bonus, but I was happy enough to soak it all in. I like the photo but this is something that must be experienced in real life.
I’ve traveled to Ecuador, Brazil, Paris, and London in the past two months alone – but I barely have any photos to prove it. I’ve left many destinations without a single photo of myself and I’m completely fine with that. It’s not the end of the world. The memories I have from these trips far outweigh any pictures I could ever take. Take your pictures, but don’t lose sight of why you’re traveling in the first place!
My Camera Gear
This page contains affiliate links, at no additional cost to you.
You Might Also Enjoy:
PIN ME! ⇣⇣⇣
SHARING IS CARING! IF YOU FOUND THIS HELPFUL, SHARING OR PINNING IS ONE OF THE GREATEST WAYS YOU CAN SHOW SUPPORT! THANK YOU!
Do you struggle with taking photos when traveling solo? Did these tips help? If so, please comment down below to let me know!
Hey, I'm Ciara. I’m a global citizen and lover of travel. Want to know more?
Things you need to know before visiting Tulum
25 TIPS TO STAY SAFE AS A SOLO FEMALE
Things you need to know before visiting Tulum
WANNA BE PEN PALS?
Sign up to stay current on all my latest tips, tricks, photos, and lists.
